Glittery Mini Bag Tutorial
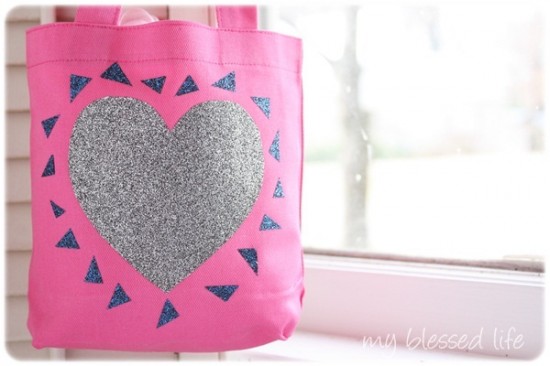
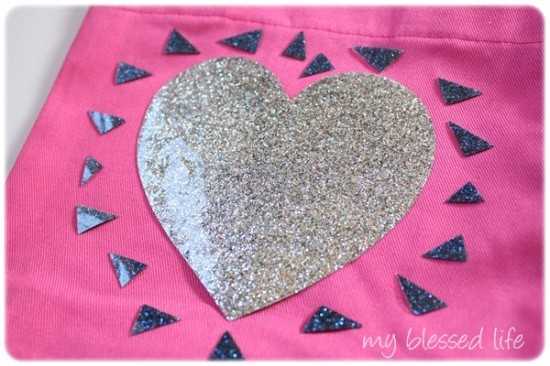
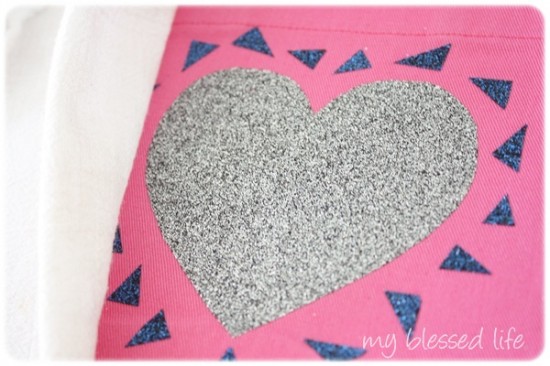
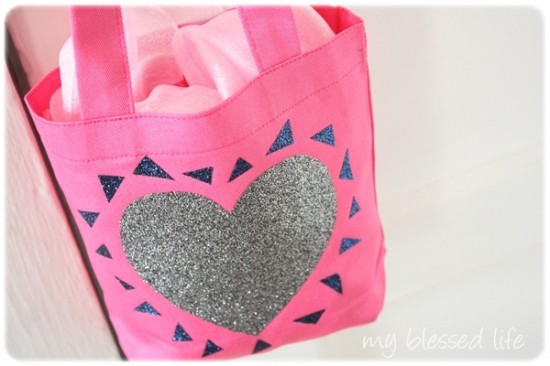
Hey, hey! I’m excited to show you what a quick and easy gift you can make with Tulip Glitter Transfer Sheets from I Love To Create! I made this glittery mini bag for my sweet {almost 2 year old} niece….shhhhh, don’t tell!
Isn’t it cute?!
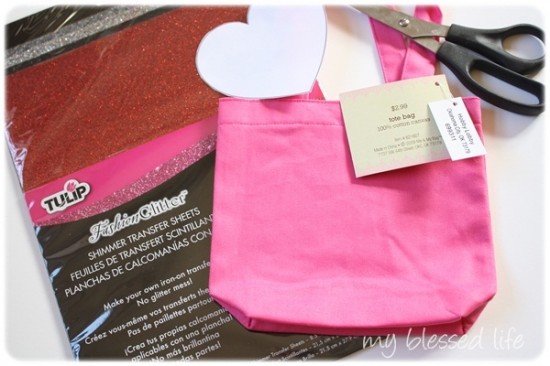
Supplies Needed:
- Tulip® Fashion Glitter™ Shimmer Transfer Sheets – I used silver and blue from the Primary and Twilight packages
- Mini bag – This one was less than $2 at Hobby Lobby with a coupon
- Heart template
- Scissors
- Iron/Ironing board/Pressing cloth
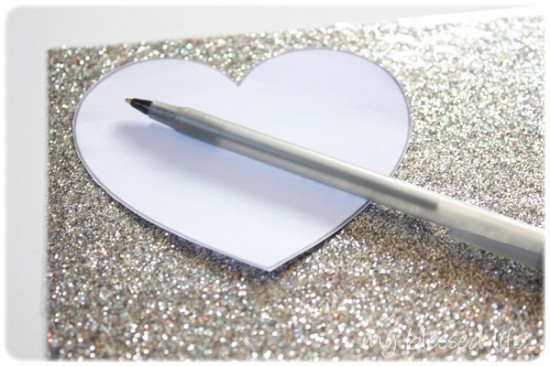
Step 1: Trace your template design onto the shiny plastic side of the glitter sheet. and cut it out.
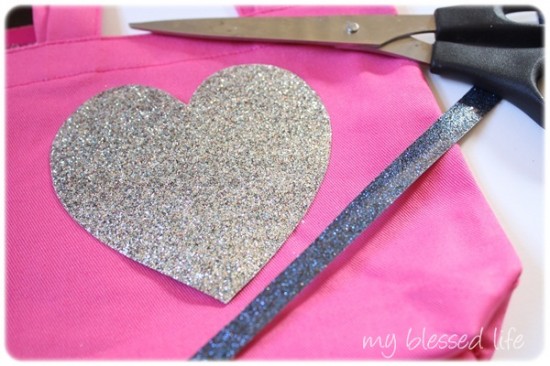
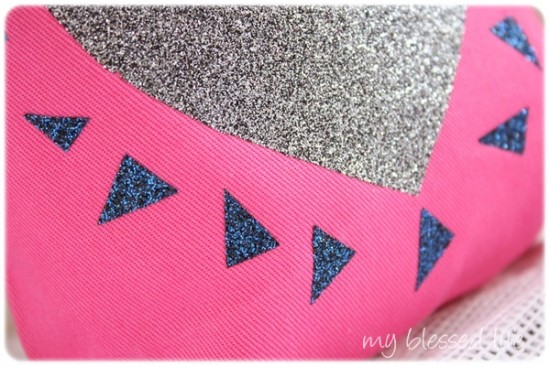
Step 2: Cut a strip of the blue glitter sheet. Cut the strip into little triangles. Be random!
Step 3: Peel all the shiny plastic away from the glitter sheets.
Step 4: Arrange each piece where you want it and then place a pressing cloth over the design. I used a flour sack towel.
I’m in love with how it turned out! What girl doesn’t like a little bit of glitter?
And that’s it, y’all! So quick, so easy and inexpensive! 🙂 I really enjoyed working with the glitter sheets! Create a glittery bag – big or small.
Have you made a handmade gift recently? I’d love to hear about it!
XO
*****
Don’t miss out – diy projects, recipes, crafts and more, by checking out my subscribe page!
Find my post disclosure…

SO CUTE!!! I did a project with the glitter sheets too and I absolutely love how great it works with fabric. =)
xoxoxoxo,
Erika and Sebastian
Nice. I need to try those sheets.
She’s going to love it!!
Kelly´s last blog post ..Busy Week
Clothing of a beautiful girl wearing a stylish dress; fashionable girl in front of lines; Letter B inside line art shopping bag The letter B inside a line art shopping …
thankyou
custom-embroidery-digitizing