Vintage Ceiling Tile Wall Art
Good morning and happy Monday, y’all! 🙂 I’ve been wanting to share this ceiling tile wall art project with you for a few weeks and hubs and I were finally able to pull it off this weekend. Yay!
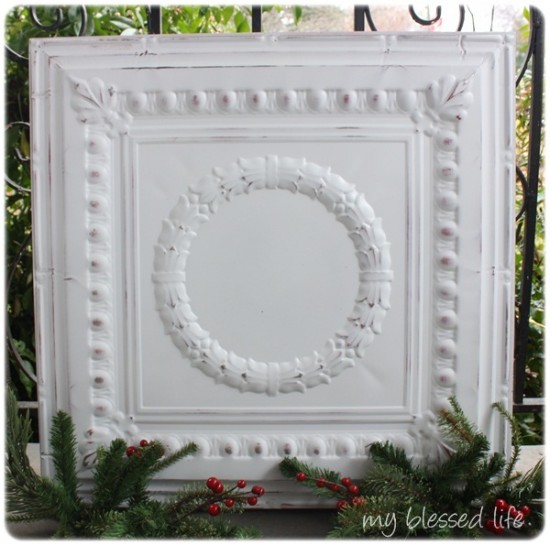
I love how it turned out!
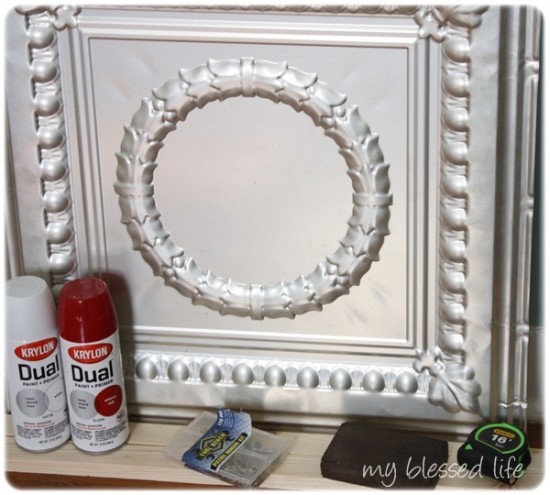
Supplies:
- Vintage Ceiling Tile {mine came from the fabulous Southern Accents!}
- 2 – 1 1/2″ x 3/4″ x 4′ long pieces of wood. {very inexpensive at Lowe’s}
- Red spray paint
- White spray paint
- Sanding pad
- Tape measure
- Hammer & nails
- Saw to cut the wood.
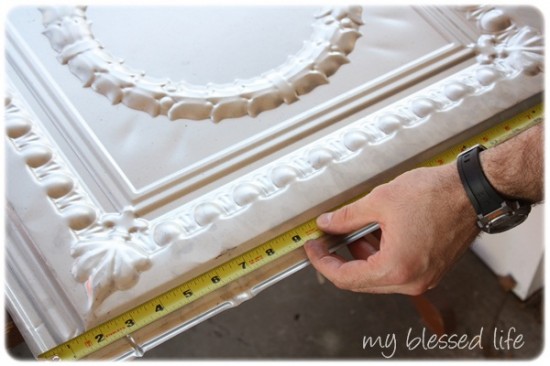
Measure the ceiling tile. Mine was basically 24″ x 24″.
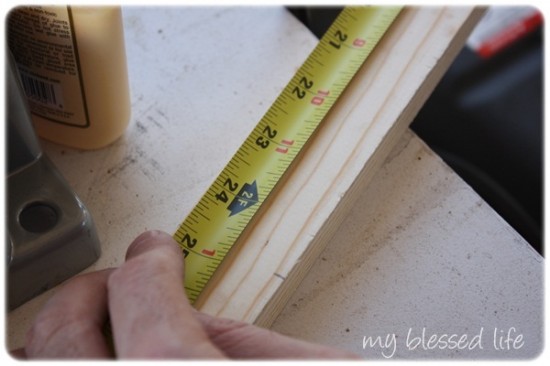
Cut the wood to build a frame.
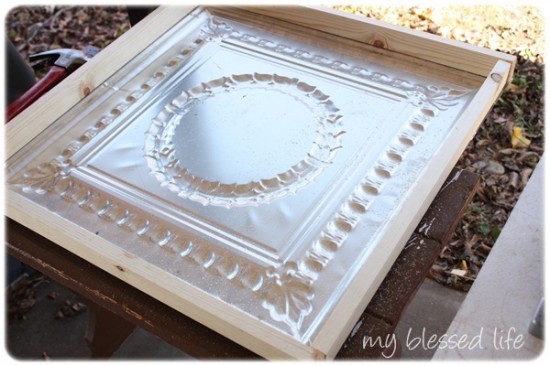
The frame is incredibly stabilizing to the ceiling tile.
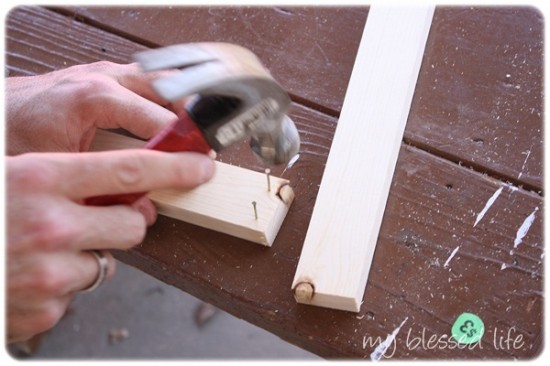
Nail the four pieces of wood together. Easy peasy. Four hands make this an easy process!
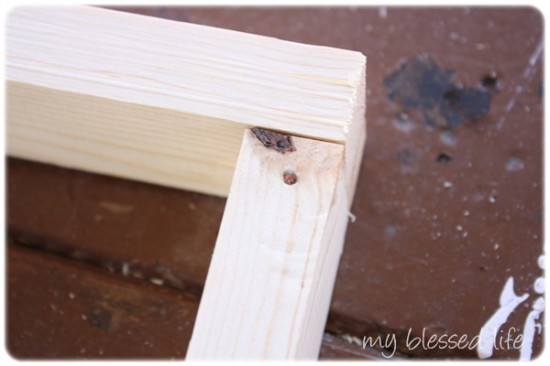
On each corner, hammer in a nail at an angle to give extra support.
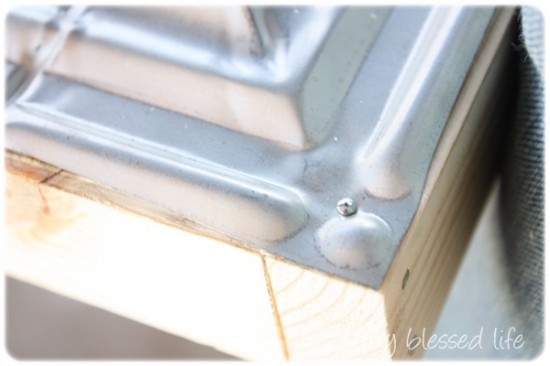
Nail the ceiling tile to the frame in each corner.
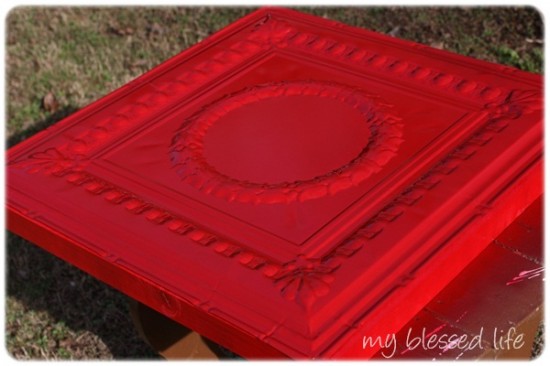
Spray paint the framed ceiling tile red. Let it dry and then spray paint it white. Trust me on this! 🙂
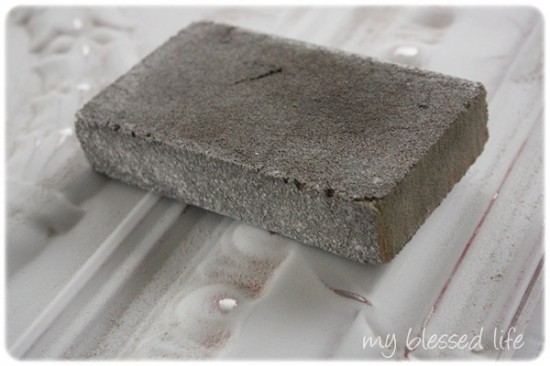
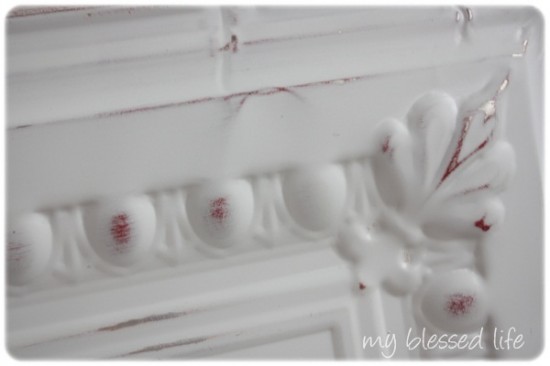
Use a sanding pad to distress edges. My goal was to make this piece look somewhat “found.”
Pretty!!
Wipe off the spray paint dust with a damp rag and prepare to hang your new ceiling tile wall art!

I can’t wait to show you where I’m hanging my vintage ceiling tile wall art! 🙂 Any guesses?
Did you work on any projects over the holiday weekend?
I’m linking up to Made By You Monday, Tip Me Tuesday, Today’s Creative Blog, Weekend Wrap Up Party and Before & After Party!
XO
*****
Don’t miss out – diy projects, recipes, crafts and more, by checking out my subscribe page!

Gorgeous! I really want to make this, but need to work out where to put it. I love the look 🙂
Thank you Liisa!! 🙂
So pretty! And the metallic look is really classy.
Joii C.´s last blog post ..Welcome New Visitors
Thank you Joii!! 🙂 I hope you had a lovely Thanksgiving!
I do love this, but I would take more white off to see even more RED. Red is my favorite color. Good job
Thanks Paula! 🙂
That’s beautiful!! Good job!! Makes me want to go attack it too!!
Rhonda @ Abide at Home´s last blog post ..Recipe Rundown – 11/27/11 – Mini Chicken Pot Pies, Cream Cheesy Mac and Cheese
I’ll be honest with you…when I saw the all bright red tile I thought, “Where are the sunglasses?” Then, you told me to trust you and I kept scrolling down and I can’t believe the awesome results. Great job and I can’t wait until I see it hung up somewhere, perhaps the dining room?
I am LOVD´s last blog post ..Gratitude Journal Monday
This looks so great! I love how the red peeks through. Can’t wait to see where it’s going!
Trisha @ Clarion Wren´s last blog post ..Meet My Sponsor: PawTrackers Boot Wraps
love this, what a great piece!!
alana´s last blog post ..thanksgiving weekend.
I live the hint of red showing through. What do you think about adding a simple stencil in the center of the medallion?
I love this! It looks so pretty! I like the versatility – you can spray with different color combinations and sand off a lot or a little! I should do this with my two that I just hung “as is” – it would spice them up. Yours would be so pretty on a Christmas mantle…?
Love your blog BTW!
That´s a great piece of Christmas decoration which fits into homes arranged in every design style. Myra, you´ve done a great job combining traditional motives and colors in a creative way.
It turned out so nice, I can’t wait to see where you hang it. What a great idea to turn this into wall art!
Found you via link party. :o)
http://justagurlintheworld.blogspot.com/2011/11/how-to-make-custom-wall-art.html
Jennifer´s last blog post ..First Featured!
Hang it up, QUICK! It’s too pretty to leave us wondering where it will go!
This is so adorable! LOVE the peeks of red!
This is awesome! I’d love to do an entire room with these, that would be so gorgeous. Thanks for sharing. 🙂
Jen @ Master the Art of Saving´s last blog post ..Safeway $39.99 Turkey Dinner Review
Myra – I am so lucky to have stumbled on your website. This is EXACTLY what I am looking to do. I am in NJ and am not sure what store you bought the tiles at – or if anyone has suggestions I am not sure where to go to purchase something similar.
Thanks for your great ideas and inspiring posts! 🙂
Wow, Myra. I’m not crafty at all but even I might try this, it looks so spectacular. Something different, yeah!