Christmas Felt Garland
Happy Monday, y’all! We had an amazing weekend of celebrating the upcoming holidays, honoring veterans and shopping and antiquing in Tennessee. I will be sharing photos soon!
To kick off the week, I’m posting my first Christmas craft of the season. I know some of you are ready and others will say it’s too early. 😀 This year I plan to be a bit ahead of the game, so I can keep my sanity a bit more….ahem, maybe.
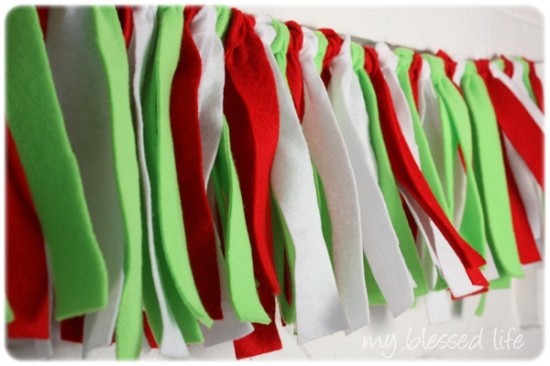
I loved making my Ruffled Felt Fall Garland two months ago, so I decided to continue the “felt fest” and make a Christmas felt garland. This one is a bit shaggy, a bit retro and big on cute!
 Christmas Felt Garland
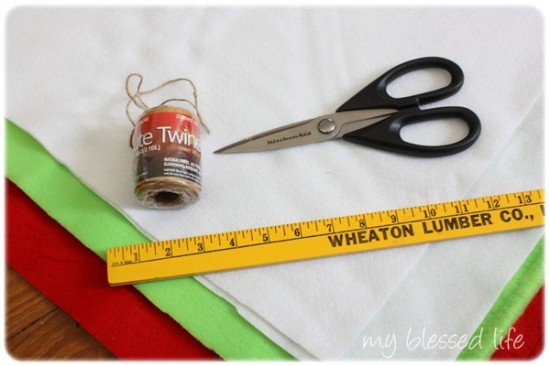
Supplies Needed:
- 1/2 yard of three colors of felt or fleece {I used white felt, lime green fleece and red felt}
- Yard stick or measuring tape
- Sharp scissors
- Jute twine {about 11 feet}
- Sharpie or fabric pen
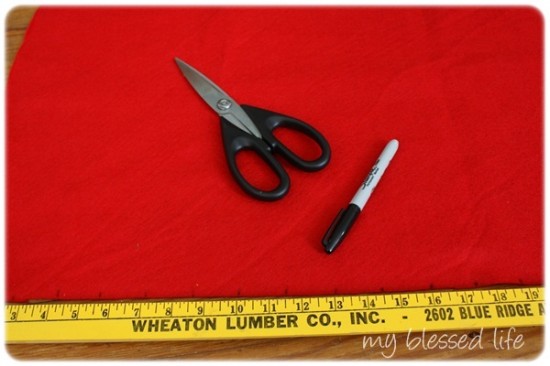
Mark 1 1/2″ increments on the felt. I did this on the first piece and then cheated on the rest and just eyeballed the strips. It’s not super important that this be perfect. {just my style!}
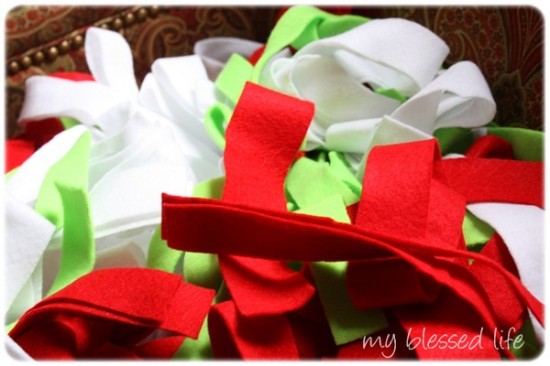
After you get the strips cut, you will have a ginormous pile that looks like this. The strips are about 1 1/2″ wide x 19″ long.
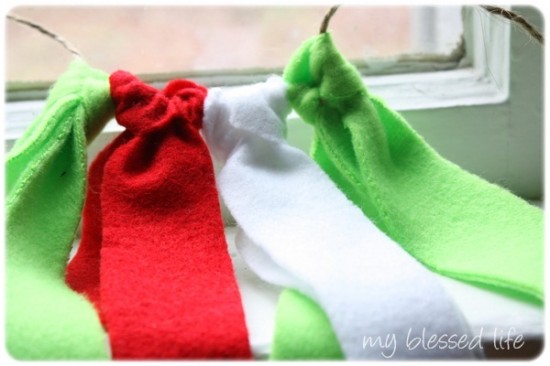
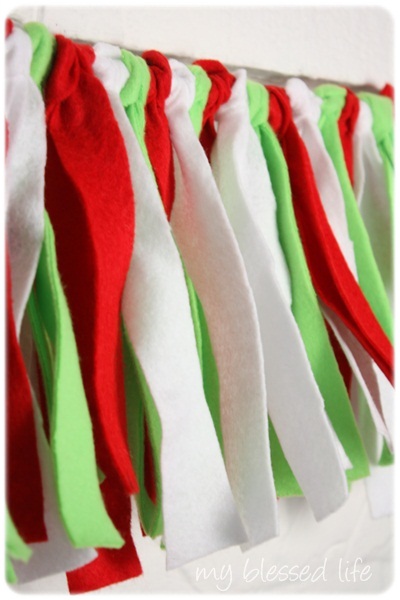
Alternating strips, tie a loop knot around the piece of jute twine. This isn’t hard. Basically the ends go through the loop around the twine. Pull the knot securely to tighten.
This garland ends up being about 10-11 feet long depending on how tight you knot and squish the strips together. You can always modify this idea and make it whatever size and color you need!
I’m so excited with how this Christmas felt garland turned out! For less than $10, it’s just what I envisioned. We’re going vintage whimsical this year with our Christmas decor and I can’t wait for it to all come together so I can show you! 🙂
Have you started thinking about Christmas crafting?
I’m linking up to Made By You Monday, Tip Me Tuesday, Today’s Creative Blog, Chic & Crafty and Weekend Wrap Up Party!
XO
*****
Don’t miss out – diy projects, recipes, crafts and more, by checking out my subscribe page!

 Christmas Felt Garland
Thank you for the great idea! It is easy and cute…my kind of project! 🙂
Blessings,
Amy
Yay! Let the Christmas decorating begin!!!
I love this!! I think it would make a really cute and simple valance in a kids room too! You’ve inspired me. 🙂
You’re going Vintage Whimsical!
I love that!
You garland is especially fun since the same technique can be used to make garlands for other occasions, too!
We made a Pez Christmas tree once.
We had a blast making it – and eating along the way.
(It’s on the blog…if you want see pics.)
~
Yep. Definitely making one of these. So cute!
So easy! I can do this one:)
Very cute. I was literally just getting rid of black and orange in my living room and staring at the garland, wondering what to do for Christmas garland. My colors are silver and white this year. This would look cool with white felt and sparkly or silky silver fabric. Thanks for the inspiration.
I like this! Very cute. Might have to do something like this for my living room window….
so easy and so festive, I love it!
I love it! It truly is beautiful!
This is adorable! Thanks for a great idea. I’ll be making mine in blue, white and yellow for Hanukkah 🙂
This is gorgeous and so easy! Thank you for sharing.
This is so easy – and inexpensive – to make!! And can pretty much be done for any holiday!! Stopping by from InspiredHoneyBee.blogspot .. join us for our linky party this week! xoxo Debbie
Fun and easy, just the way I like my garland! Thanks for sharing such a great idea!
How adorable! I love how bright and cozy the fringe garland is!
Love how colorful and happy this looks! Very cute!
I am seriously in love with this garland! We would love for you to share it at our Home for the Holidays link party!
http://www.uncommondesignsonline.com/2011/11/home-for-holidays-link-party-2.html
how easy, cheap, and festive! I love it! Thank you so much for sharing. I will have to try this!
Thanks.It’s so easy and cute, I do it
Easy, peasy! So cute and creative! Could you please share a photo of where you put it? I’d love to see that!
I’d love for you to share this with my readers to. I invite you to link up for Fun Stuff Fridays on my blog.
http://www.toysinthedryer.com/2011/11/introducing-fun-stuff-fridays.html
Such a great idea and so simple too!
Oh how fun! I may just have to make one 😉
This is so simple and cute. I just wanted to stop by and let you know that I featured it on my Friday night features.
Finished this up last night! Love it, very cute. My question is what’s the best way to hang it? It’s a lot heavier than I was expecting! Was going to do suction cup hooks, but I don’t think it will hold. Thanks for the wonderful ideas!
I used little screw-in “C” type hooks. I first hung it on my mantel and put the little hooks in the wall on each side. Now, I’m thinking it may end up in my dining room. 🙂