DIY Embellished Notebook Craft {Blog Swap}
I’m so thrilled to have a wonderfully sweet friend here to share a fabulous DIY craft/gift idea with you today. I’ve known this girl for less than four months and I just love her. I know you will too!
Take it away girl…
*****
Hi Ya’ll!
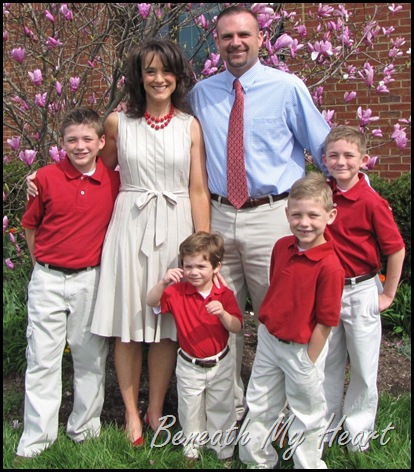
My name is Traci, and I blog at Beneath My Heart!
I am the mother of four boys, and married to an amazing man who loves DIY projects like I do!
To say the least, there is a ton of testosterone flying around my home! So my blog has been an outlet for me to share my girly, crafty side.
I love to create. Whether it be a new room design, a furniture makeover, or a cute little notebook like I am sharing with you today. Creating makes me happy!
I know that you have heard a lot about Blissdom in blogland lately. Well, I had the privilege of attending Blissdom for the second year in a row.
Last year, I roomed with my sister, Cyndi. But this year, we had a new roomie! Richella, from Imparting Grace.
She has been my online friend for the past two years, and I was so excited to finally meet her in person. My sister and I decided to make her a little “roomie goody bag”.
Since you take a lot of notes in the conferences at Blissdom, I decided to make Richella a personalized notebook.
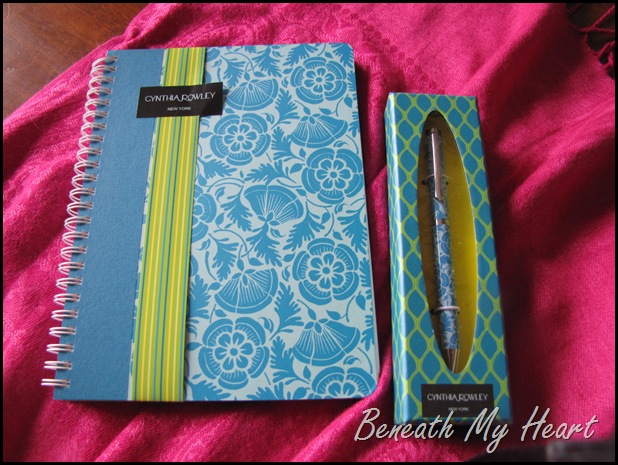
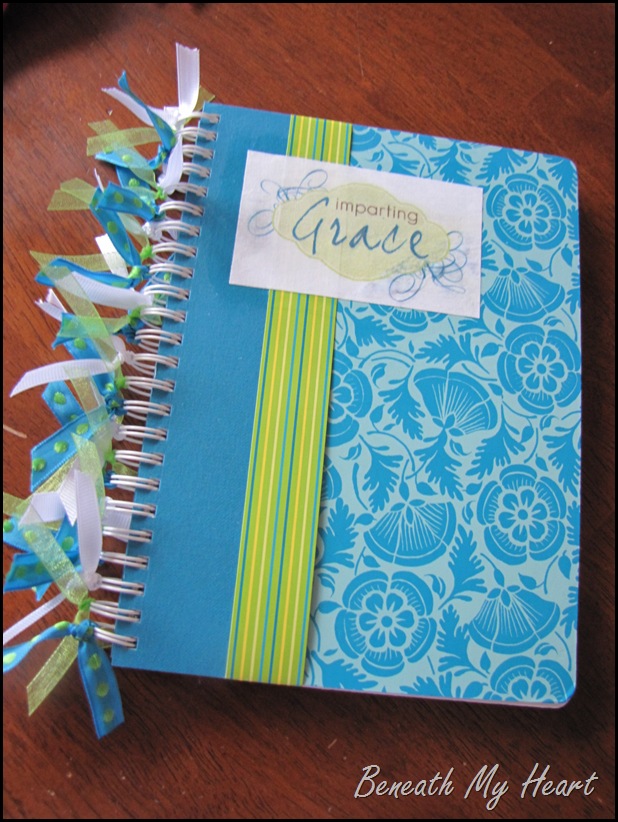
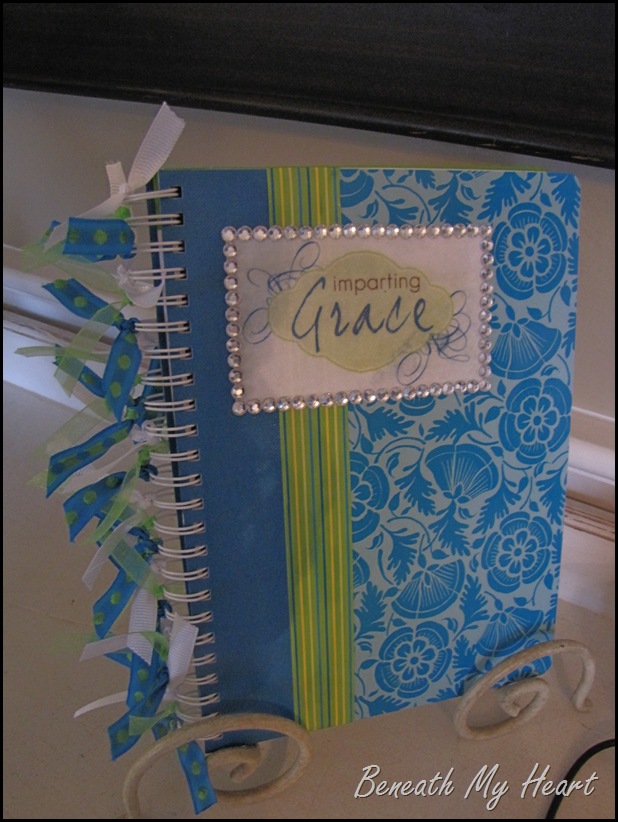
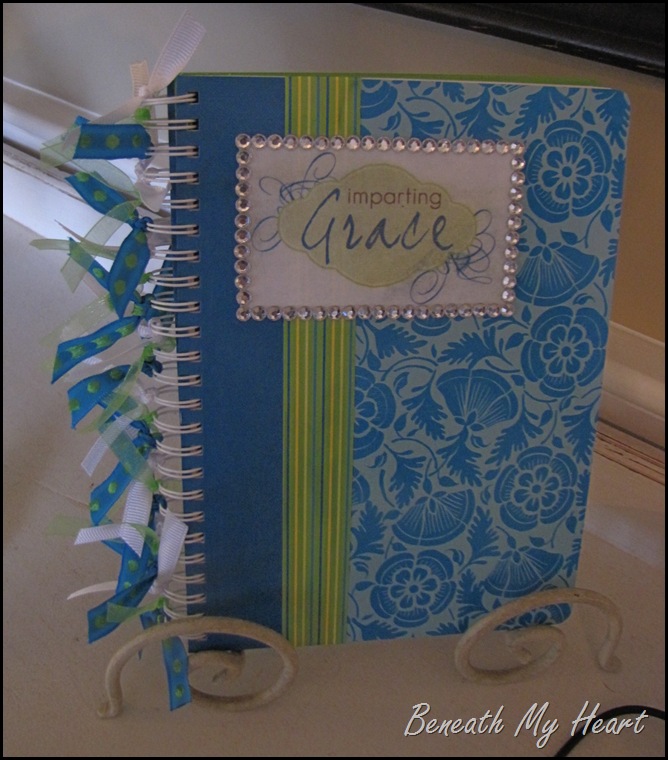
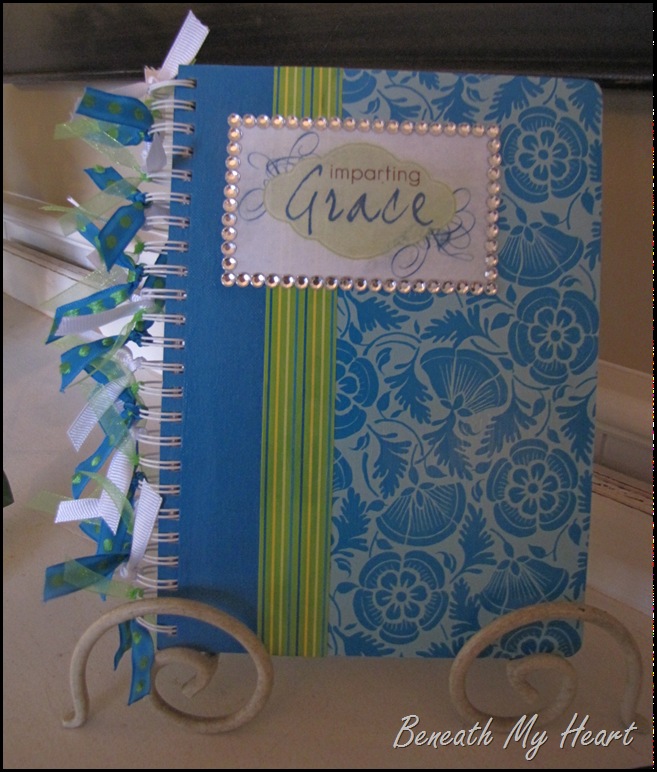
I found this great little notebook and pen set at Marshall’s. They were perfect because they were exactly the colors of Richella’s blog!
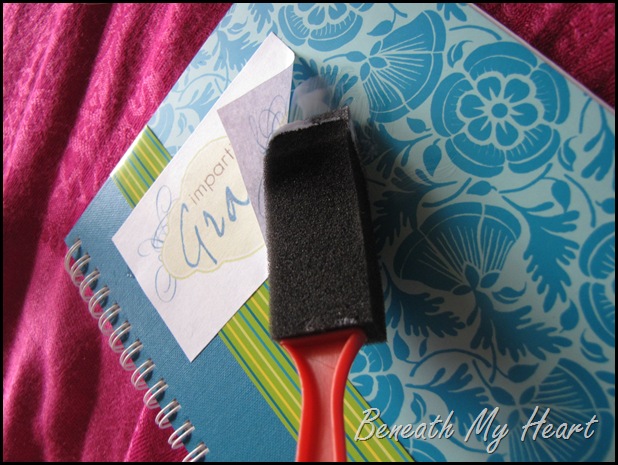
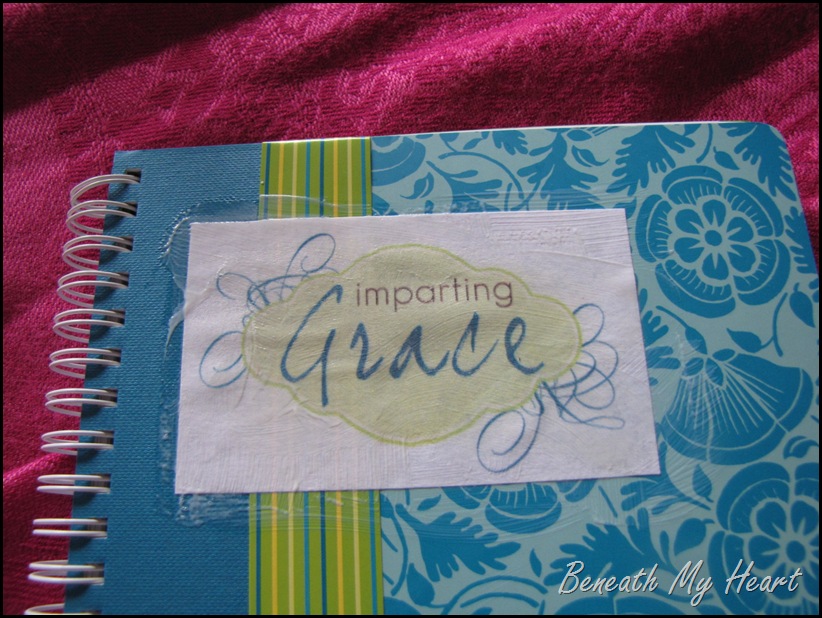
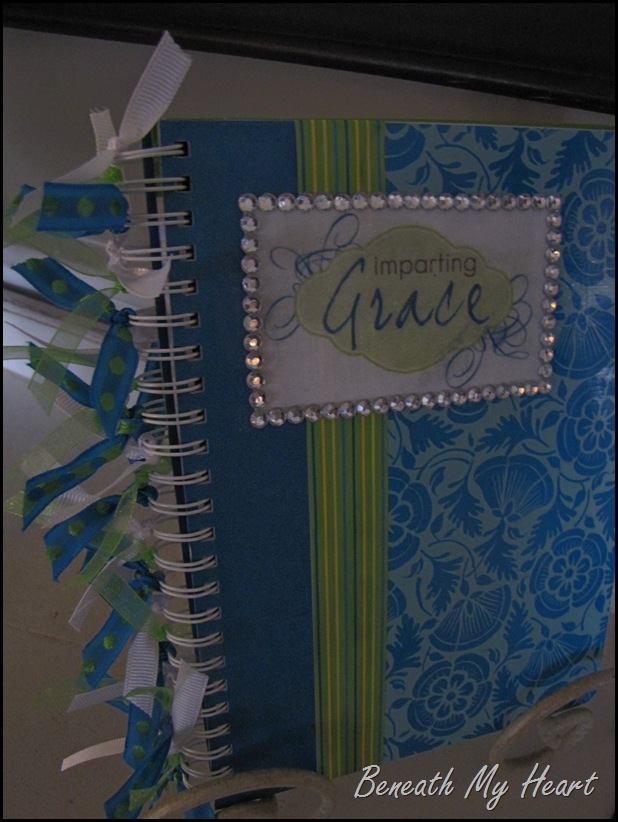
I printed the logo of Richella’s blog onto computer paper and used Modge Podge to adhere it to the front of the notebook.
After it dried a little, I added a coat of Modge Podge over the top of the paper. (Later, I also put a thin layer of Modge Podge over the whole front cover of the notebook just to give it a uniform look.)
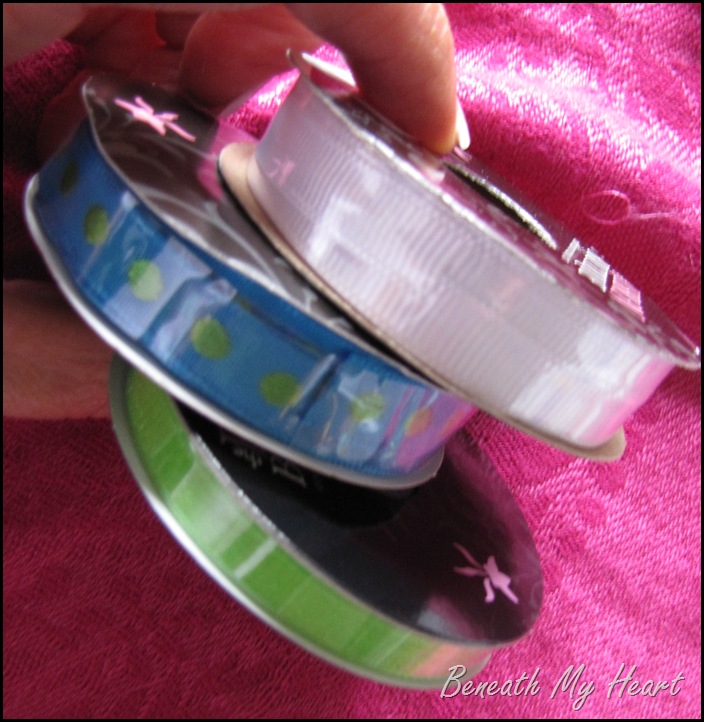
I bought three different kinds of ribbon from Hobby Lobby (50% off) in the same colors as the notebook. They were a dollar a piece.
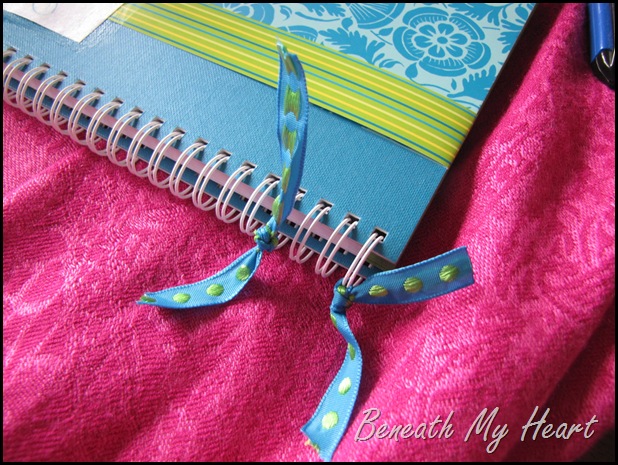
Then I just cut the ribbon in small pieces and attached them to every third ring on the notebook. Easy-peasy!
After I added all of the ribbons, I could tell that the notebook needed something else….some bling!!
Right, ladies?
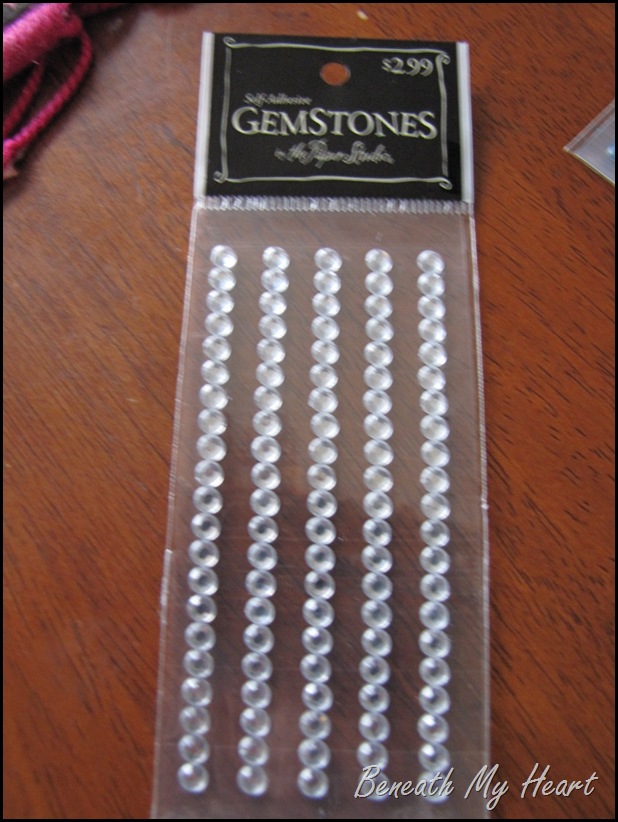
So I blinged out Richella’s logo with these great self-sticking Gemstones from Hobby Lobby. They can be found in the scrapbooking section. They were not half off, but with my 40% off coupon, I got them for $1.80. (Sorry for the blurry picture…oops!)
The best part is that they were self-sticking. And believe me, those babies are stuck on there GOOD!
Ooooh-la-la…Don’t the gemstones just make it? I really loved the way it turned out.
And Richella said she got a ton of compliments on it at Blissdom. (I hope she wasn’t just being nice!) 🙂
I love it so much, I am thinking about making one for myself with my blog logo!
I got my notebook at Marshall’s for about $4.00, but this would be a great project to do with a dollar store notebook. It would only cost about $6.00 total to make a personalized gift for someone!
Thanks for letting me hang out with you today!
I hope you come visit me sometime at Beneath My Heart.
Have a blessed day!
Traci
*****
Thank you Traci for this amazing craft! Now I want to make one for myself! 🙂 Y’all go check out Traci’s fabulous blog!

What a fabulous idea, Traci! The gemstones really finished off an already beautiful notebook. I’m thinking I may ‘need’ one of these! 🙂
Thank you, Vicki. I really did love the gemstones. It really finished it off! 🙂
Traci´s last blog post ..DIY Ruffled Valentine Wreath Blog Swap
What a beautiful, thoughtful, project! Love how this turned out!
Thank you, Amy! I think Richella really liked it. 🙂
Traci´s last blog post ..DIY Ruffled Valentine Wreath Blog Swap
i LOVE this project! and since i have a house full of “crafty” peeps….they will love it too!
love you AND Traci!
Thank you, Sandra! I know your crafty peeps would enjoy making this because it is super simple. 🙂
Luv u!
Traci´s last blog post ..DIY Ruffled Valentine Wreath Blog Swap
No, I was NOT just being nice. I got SO MANY compliments on my notebook!
I love my blog logo (designed by Darcy), and it’s such fun to have a personalized item like this. When I was a little girl, back in the Dark Ages, I never got to have personalized things. The only personalized things available were pre-printed coffee mugs and bike license plates, and nobody ever had a “Richella” mug. So now I love anything personalized. . . and this notebook is just the best! Thank you again, Traci! 🙂
I’m glad you liked it Richella! I wanted to do something special for you because you ARE special! 🙂
Traci´s last blog post ..DIY Ruffled Valentine Wreath Blog Swap
Fabulous idea!!! The added bling just “made” it!
Thanks, Tricia! Every girl needs a little bling, right?! 🙂
Traci´s last blog post ..DIY Ruffled Valentine Wreath Blog Swap
ooohhhhh– I love it! So, so cute! I am totally making one to keep notes for my new, huge, home project going on now! Thanks for sharing…..
Wendy´s last blog post ..Go away- SNOW!
Thanks, Wendy! I hope you try it! It really is cute. 🙂
Traci´s last blog post ..DIY Ruffled Valentine Wreath Blog Swap
Great project! I love it! I’ll have to make one for me and my girls now. 🙂
Jenifer´s last blog post ..God Is So Awesome!
Thank you, Jennifer. I hope you make it with your girls. It’s super easy to make and can be personalized with your girls favorite colors. 🙂
Blessings,
Traci
Traci´s last blog post ..DIY Ruffled Valentine Wreath Blog Swap
Traci-
This notebook is sooo cute!! I must make one!! Thank you for sharing!
Tonya´s last blog post ..From Drab to Fab!
Thank you, Tonya! I really enjoyed making it and it took me less than an hour from start to finish. 🙂
Traci´s last blog post ..DIY Ruffled Valentine Wreath Blog Swap
I love it Traci! Super cute and, like you said….easy peasy! Love it!
Could I love this more?
And it’s a DIY that I actually think I could scrounge up enough crafty in me to do! Thanks, Sweet Friends!
QuatroMama´s last blog post ..You All Turn Four Today
Oh girl, you could do it, fo sho!
Luv u darling!
Traci´s last blog post ..DIY Ruffled Valentine Wreath Blog Swap
SO cute!!!!!
Kelly´s last blog post ..WW- Little Guy
Thank you, Kelly!
Traci´s last blog post ..DIY Ruffled Valentine Wreath Blog Swap
LOVE this project. It is right up my alley. I love personalized gifts on a dime that say nothing but love!
Great job Traci!
Missed you girls at Blissdom!
Darlene´s last blog post ..Recipe Share- Vegetable Pie
This is amazing! 🙂
Oh that is sooo awesome!!! I love it!!!
I make my own notebooks, too! I use those Composition notebooks. You can get them at the Dollar store, or at Back to School time they have them for .25. I stock up then!
I use scrapbooking paper mixed with inspirational magazine pictures that I find through magazines such as Better Homes and Gardens, Horticulture, or even my church bulletin covers. I simply paste everything to cover the front, back, and inside covers. I attach an envelope on the inside cover to store inspirational magazine clippings so I can glue them on my pages as I write. These notebooks have been a huge source of inspiration and motivation for me to write/journal. 🙂
Thanks so much for sharing!! I love the idea!
Christin´s last blog post ..A Small Testimony of My God
Love it Christin!! Thank you for sharing!!! 🙂
This is to cute. I love it, and plan on making one for a friend. I have one simple question, and remember no question is stupid (LOL). Are u using a inkjet printer? If so, when I modge over my inkjet prints it smears. How do u keep this from happening? Thanks for your help.
I just talked to Traci and she said that she just lightly went over the paper with modpodge. She said the ink didn’t seem to want to smear, but she was concerned with tearing the paper. I hope that helps you out some. 🙂 Maybe try less modpodge rather than more. 🙂
I just saw this post and what a great idea. I love anything personalized too. I have all boys in my house but I know lous of girls that would love this.Thanks for the idea.
I just saw this post and what a great idea. I love anything personalized too. I have all boys in my house but I know lous of girls that would love this.Thanks for the idea.
I just saw this post and what a great idea. I love anything personalized too. I have all boys in my house but I know lots of girls that would love this.Thanks for the idea.
This really turned out great. I’m always trying to find great crafts for not only myself, but to keep the kids occupied as well. The gem stones do really set it off! Thanks for sharing such a nice little idea.
Playdough Recipe´s last blog post ..Welcome To Playdough-Recipe!