Amazing Fireplace Transformation {Before & After}
Good morning! I’m so excited to show you the work we’ve been doing on my Memaw’s house. I’ve mentioned it before in passing, but we are moving {Yes, again. I know.} to my Memaw’s house. I can’t even begin to express the honor that it is to be able to move home to the farm where I grew up. And to be able to love on Memaw’s house? It is unspeakable joy for me…for us. I’m feeling incredibly sentimental and full of gratitude for this next chapter.
With all that said, let me show you a project I’ve been working on.The first area that’s somewhat finished is the fireplace wall in the den. I posted 11 Brick Fireplace Makeovers two weeks ago, so now I’m thrilled to show you mine!
[pinit count=”horizontal”]
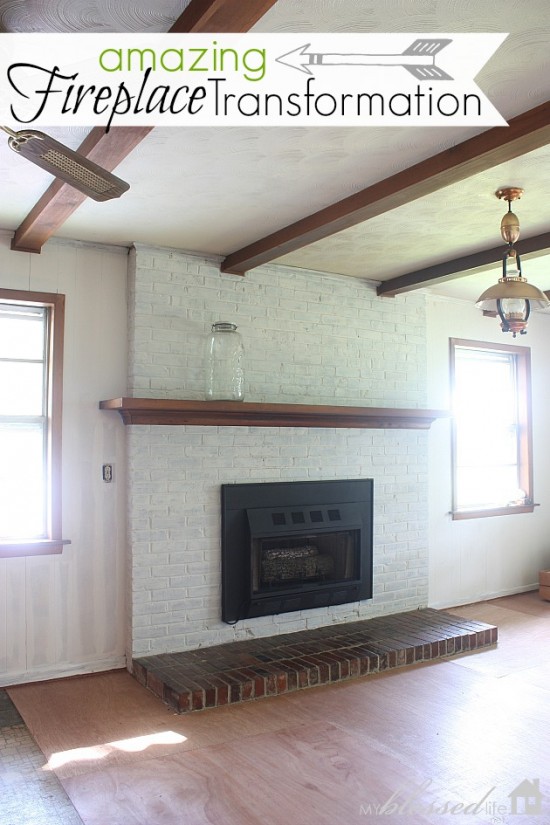
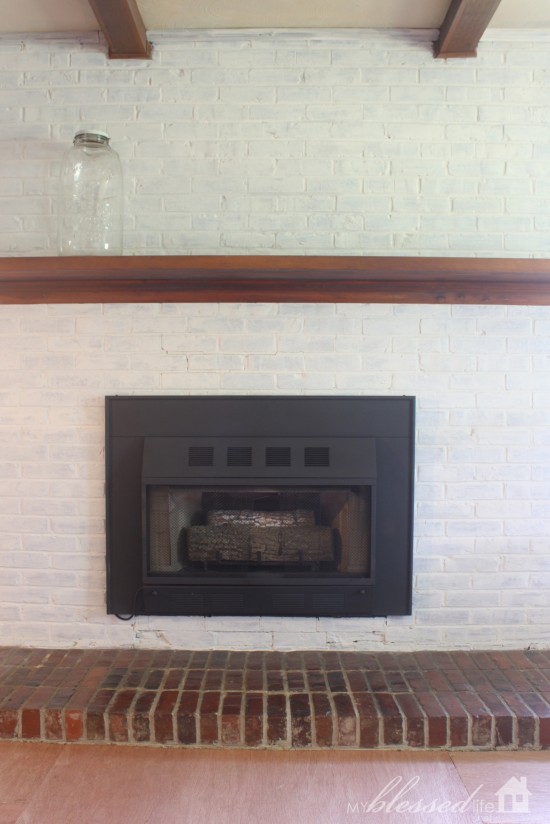
This is the bright and happy “somewhat after” photo. Don’t you love the beams?! The white really makes the beams pop.
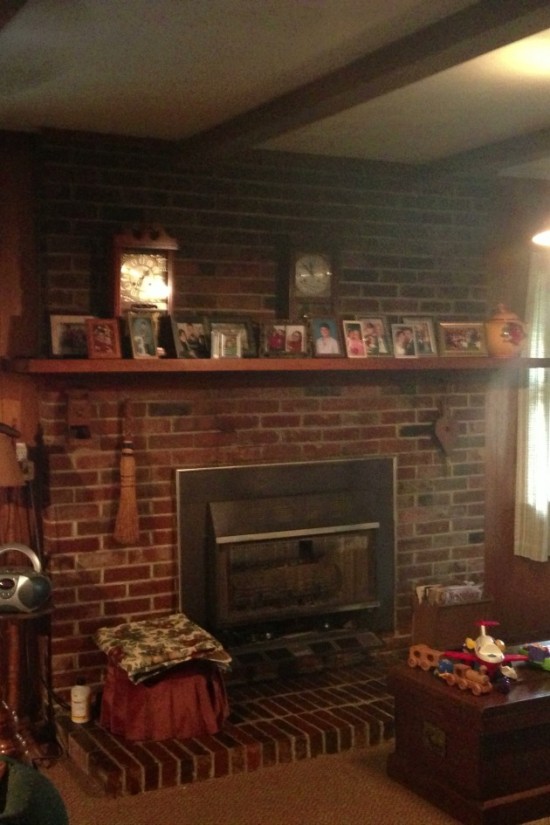
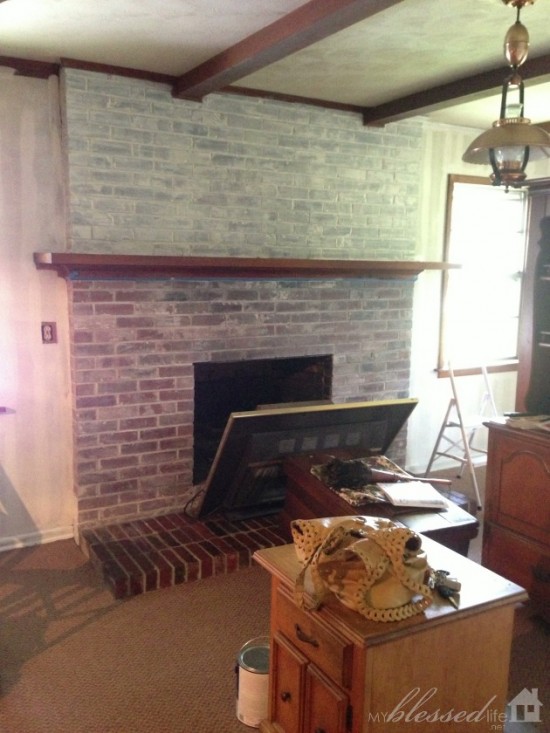
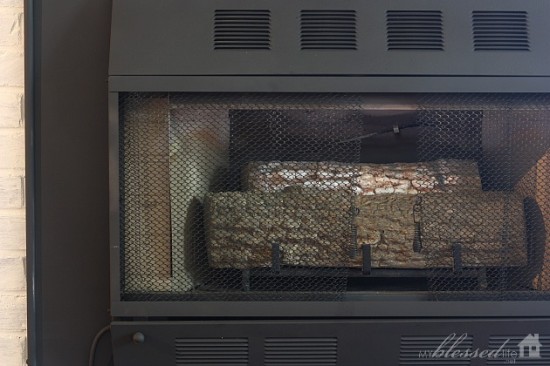
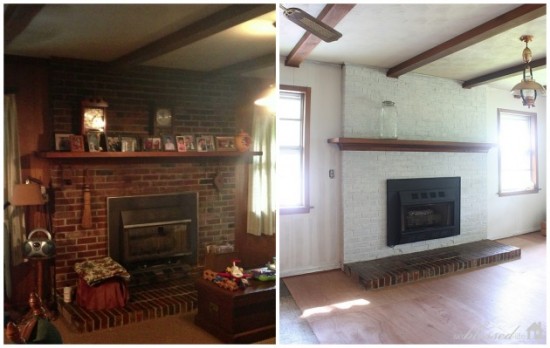
This is a terrible before photo, but at least you get the idea. Before pictures are supposed to be really bad anyway, right?
So pretty!
Sorry for the cell phone pictures, but I don’t have my big camera with me very much when I’m renovating. I cleared everything off the mantel and fireplace area and pulled the gas logs insert out. The house hasn’t ever had HVAC, so that’s on the top of our priority list. Eventually we would like to pull out the insert permanently and put gas logs in the fire box.
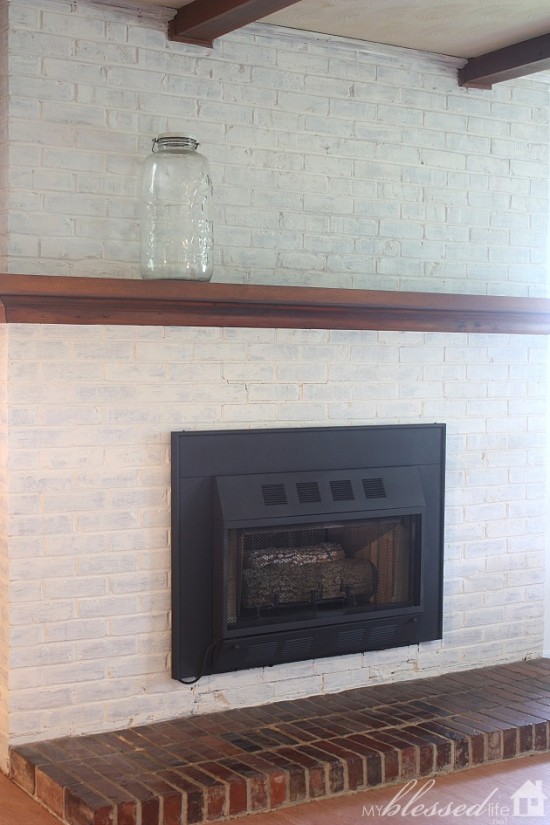
I decided to white wash the bricks because I wanted to see some texture and color variations. I was slightly terrified to begin, so I started out with a 2 parts water/1 part paint mixture. You can see how that looked below the mantel. It just made the bricks look dirty. And there was too much pinky-peach coming through. After I did the 2:1 ratio, I went back with a 1:1 ratio and it was much better. That’s what it looks like above the mantel.
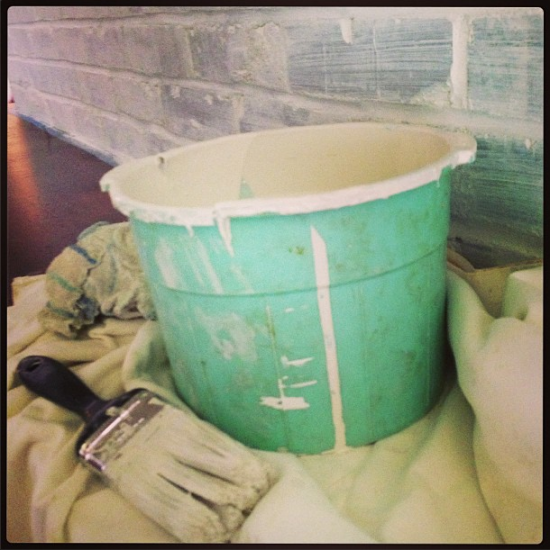
I used this little bucket, a cheap paintbrush and a rag. I painted on and wiped the excess off. It is very important to get the paint in the crevices. Doing this makes a big difference. After the second coat was dry, I went back and dry brushed over the bricks with a X brush stroke. This brightened the bricks just a little bit and the X strokes made everything look a bit more random.
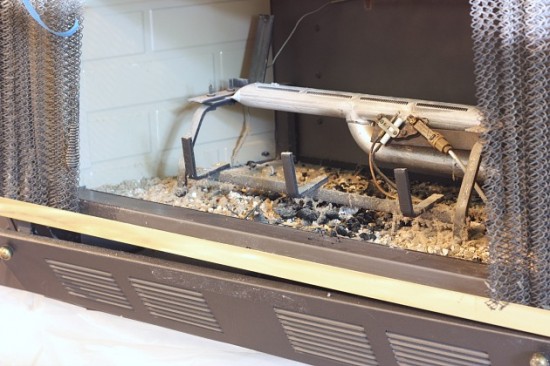
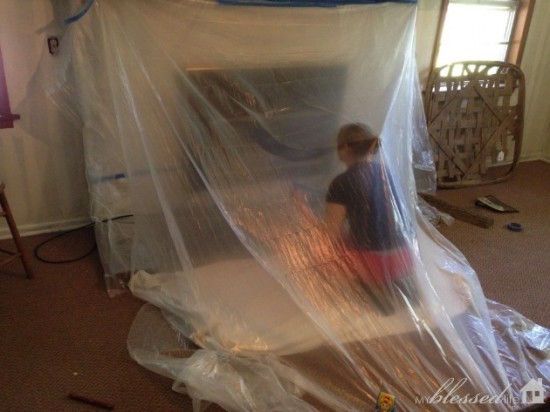
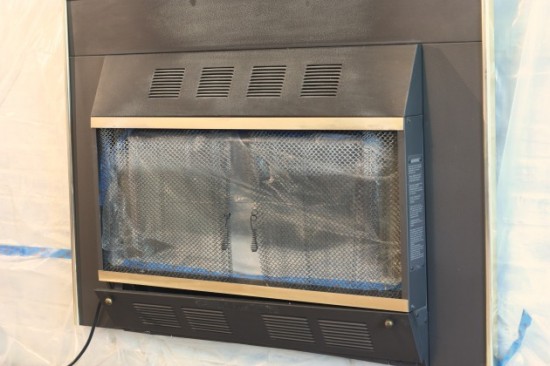
So, what in the world did I do with the gas logs insert? First I cleaned it out very well. It was very dusty inside. I taped plastic all over the brick, inside the insert and I also made a tent out of plastic.
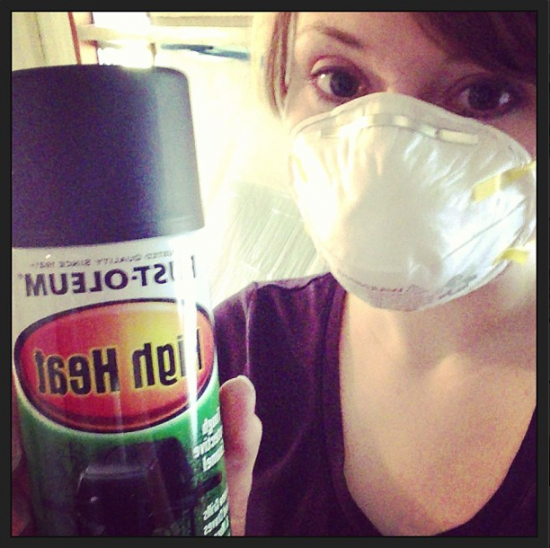
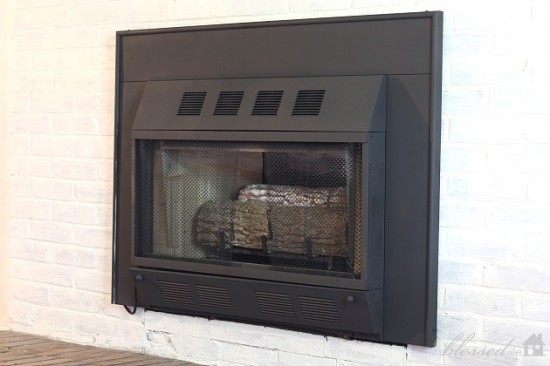
I bought Rust-oleum’s High Heat black spray paint and it was great to use. The coverage was fantastic and I only needed one can. I’ve really been rocking the masks and ear muffs lately. Ahem. #safetyfirst
My husband snapped this picture of me. Ha! I popped in and out for fresh air because I really don’t dig breathing toxins…even through masks. If I did this again, I would definitely look into a heavy duty mask or respirator. We had all the windows open and fans blowing to have plenty of ventilation too.
The result is FABULOUS!
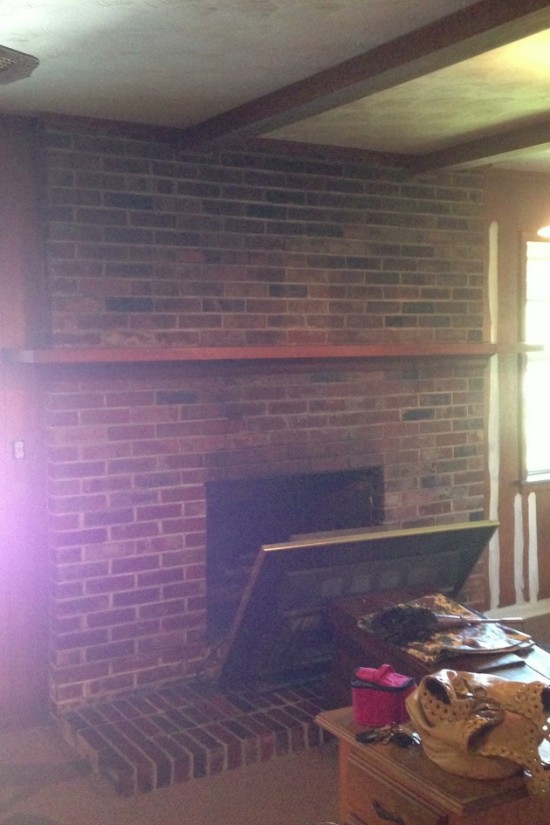
To review, here’s another before. And you can see how I taped everything.
Crisp, clean and beautiful. Boom.
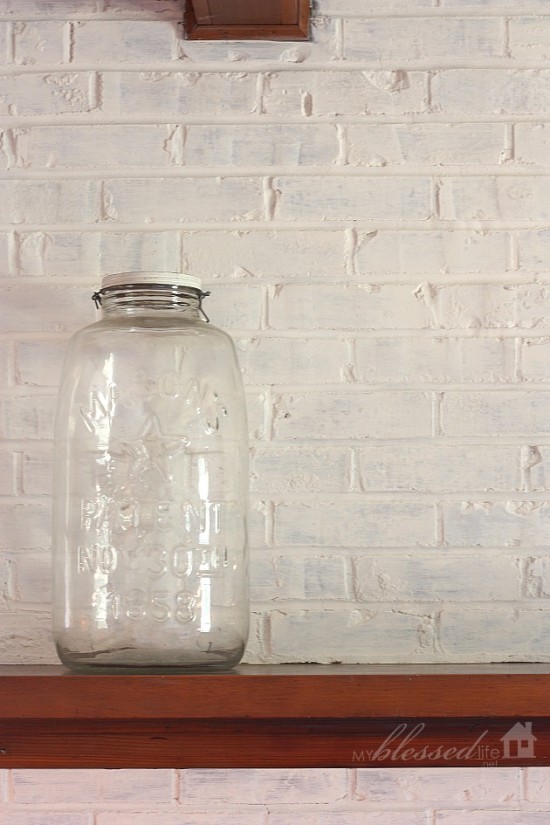
You can see a bit of the variation on the brick in this photo. And seriously, don’t you love that massive Mason jar? I got it a few weeks ago at a crafts/antiques show.
The crown molding needs to be finished and I still need to do something with the hearth. Memaw varnished the hearth bricks, so I’m just leaving them as is for right now.
Here’s another before & after just for kicks.
[pinit count=”horizontal”]
The floor isn’t anything fancy…yet. We pulled out two layers of carpet. The original linoleum is still down, but instead of messing with it {read: stressing about asbestos, scraping, pulling etc.} we are laying 1/4″ plywood to eventually install hardwood. 🙂 It’s okay to choose your battles.
If you’ve been wanting to whitewash your brick fireplace, let me tell you to just go for it! With whitewash you can totally control how much you want to cover. You can start out really light like me and see how it comes out.
I hope you enjoyed reading about this incredible fireplace transfomation! I’ll be back out at the house today sanding walls for paint. Yay!
xoxo
Myra
Sharing at: Tips & Tutes, Chic & Crafty, I’m Lovin’ It & Before & After Party!

Great job, Myra! What a wonderful transformation! I’m so happy for you to get to make your Memaw’s house into Myra’s house. I can just imagine the happy memories that flood your soul as you’re working there.
So glad you chose to whitewash the bricks. The other thing that’s great about whitewashing bricks?? If you decide you’ve done too much white, you can always use sandpaper to take some of the white back off! You really can’t go wrong, can you? 🙂
Richella @ Imparting Grace´s last blog post ..Soul Care Sunday
Looks Great!! Can’t wait to see the rest of the transformation.
Arlene Grimm@ Nanaland´s last blog post ..Down in the Valley
Wow! The whitewashing really opened up the room. I can’t wait to see the rest of the transformation.
Barb @ A Life in Balance´s last blog post ..motivation monday: stretch yourself through new roles
I have that same huge mason jar. I filled it with christmas lights and Christmas balls last year and it sat next to my fireplace. Your fireplace looks amazing and I can’t wait to see your next transformation! How wonderful that you get to live in such a special place!
That looks AMAZING!! I love love love white with natural stones and wood. Great job, friend!
Looks beautiful Myra… Looking forward to the day u can move into your sweet Memaws home. And yes I love those brown beams… Have a fab day!!
Hi Myra! Your post a few days ago gave me the push I needed to stop thinking about whitewashing my own fireplace and just do it already!! We did it Labor Day weekend and I’m so happy with it!
http://happygostuckey.com/2013/09/03/our-pinteresting-fireplace/
Now, I have to move on to the paneling about the mantle!! Yours looks beautiful! Thanks for sharing!!
That came out great! The room looks SO much more brighter with the white brick and it totally makes the beams stand out more. Love it!
Runt´s last blog post ..Yard Sale Treasures & My Fall Mantle
I can’t believe how much brighter the room looks! I’m thinking about white washing our fireplace to brighten up our room. Thanks for the steps and ratios.
What a privilege to be able to live in your Memaw’s home. I would love the opportunity to do that. Your fireplace renovation looks wonderful. Can’t wait to see the whole house finished!
Lana @ Never Enough Thyme´s last blog post ..Chocolate Scones
Beautiful! I’ve been wanting to paint or do something with my brick fireplace for some time. I think I may go this route…I love that the brick texture really shows through.
Katie´s last blog post ..Menu Plan Monday
Looking great, Myra!!
Brenda @ a farmgirl’s dabbles´s last blog post ..Chocolate Chip Granola Bars {giveaway!}
Hi! Just want to chime in that a. I like it a lot! b. I actually think the varnished brick hearth looks cool with it – more color, texture, and memories. Embrace!!
Christy, I’ve been pondering the same thing! I’m definitely leaving it as is for now! 😉
I think the fireplace is vastly improved!!! WAY TO GO GIRL!!! We too bought my “Mamaw’s” 60s rancher house 13 years ago and although it is small and we have steadily outgrown it and occassionally talk about moving into something larger I don’t know if I will ever move. We have been remodeling it since the day we moved it… the projects seem never ending but I still LOVE it here.
Amy @ Mud Puddles and Tea Parties´s last blog post ..Something We Have Always Wanted
Looks amazing! What an honor to live in such a special place! Can’t wait to see more. =)
You did a good job! It must be so fulfilling knowing that you added a personal touch to the house that you are moving in (again). Much better than hiring someone to do it for you.
Hi, Myra:
You are so brave to be experimenting with paint on brick, and then having such fabulous results! How special to be living in your Memaw’s house!
What paint did you use on the fireplace? Regular latex indoor paint? Or?
Thanks for sharing!
Wow Myra, you’re right – it is an amazing makeover. And the ceiling magically looks higher too. I’m impressed!
Warmly, Michelle
I like the hearth the way it is. It seems to tie the mantle, beams and hearth together nicely. What color floors are you looking at?
Sarah @ Feed My Family´s last blog post ..Menu September 9
Great transformation! I have been trying to work up the courage to paint our brick fireplace, and this may help push me to get it done.
Jann from Newton Custom Interiors´s last blog post ..How To Make A Pillow With Cording
I painted my brick fireplace white a few years ago. However, with the porous texture of the brick, and all of the nooks and crannies of the brick- it is hard to clean. any ideas??
Angela from Button Bird Designs just painted her brick fireplace too. Tis the season! 🙂 It looks beautiful and the room is getting so bright and beautiful now. Love Memaw’s beams in there!
Sarah{Handbags*N*Pigtails}´s last blog post ..What I’ve Been Wearing
That’s fabulous! From one who has a fireplace that looks a lot like yours comes many accolades. I only wish I could convince my husband we need to do this. And the high heat spray? Who knew? I have a brass fireplace insert that needs to be gone. Great job.
Southern Gal´s last blog post ..What I Learned in September
Wow!! What a great transformation!!
Amanda´s last blog post ..PRIME focus on you 2013
Love what you are doing to your grandmother’s house! I have a huge fireplace where the textured brick covers a 22 ft. wall! It is heavily textured, very splotchy and overwhelming to the room. My husband is the typical man who doesn’t want to paint brick or ugly paneling, but I am going to work on the fireplace this year–I have bought some really great neutral colors in light putty, grays- and hope to subtly transform that ugly brick wall with a good cleaning (it is a woodburning FP) and some subtle color washing with my blend of paints. My artist daughter says the key is to use more than one shade to subtly blend. If it weren’t for my husband’s stance, I would definitely just paint the brick a deep cream which I would love!
I just love your blog and your projects are really great! So glad I “stumbled” upon it on Pinterest! I will be checking in often to see what’s new!
V
This is actually attention-grabbing, You might be a really knowledgeable digg. I’ve became a member of the feed and appearance in front so that you can interested in the rest of a person’s great post. Also, I have got provided your blog during my myspace