DIY Button Monogram
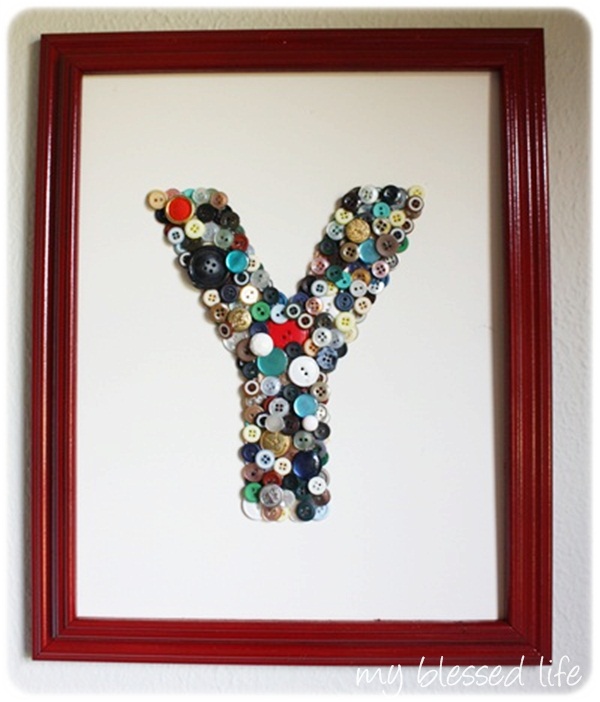
This button monogram project has been on my to-do list for weeks. It popped into my head when I scored a wooden picture frame at a yard sale for 0.25. My creative brain never, ever stops to rest, so it seems. Ha!
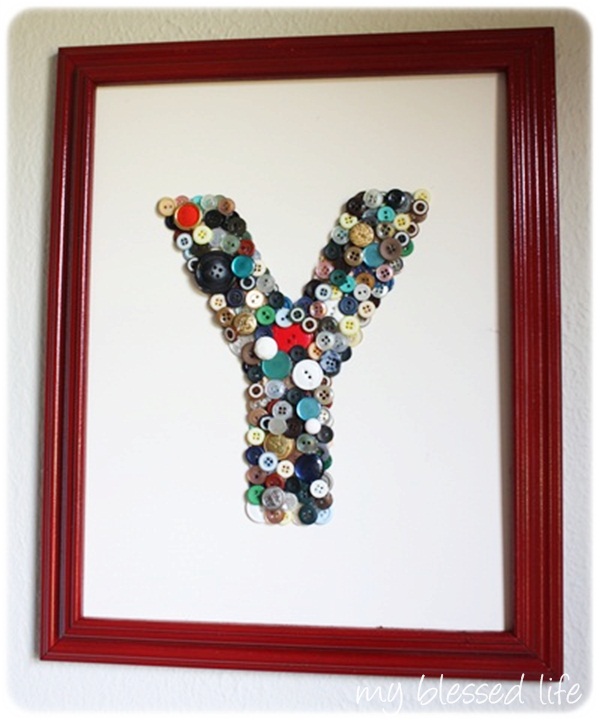
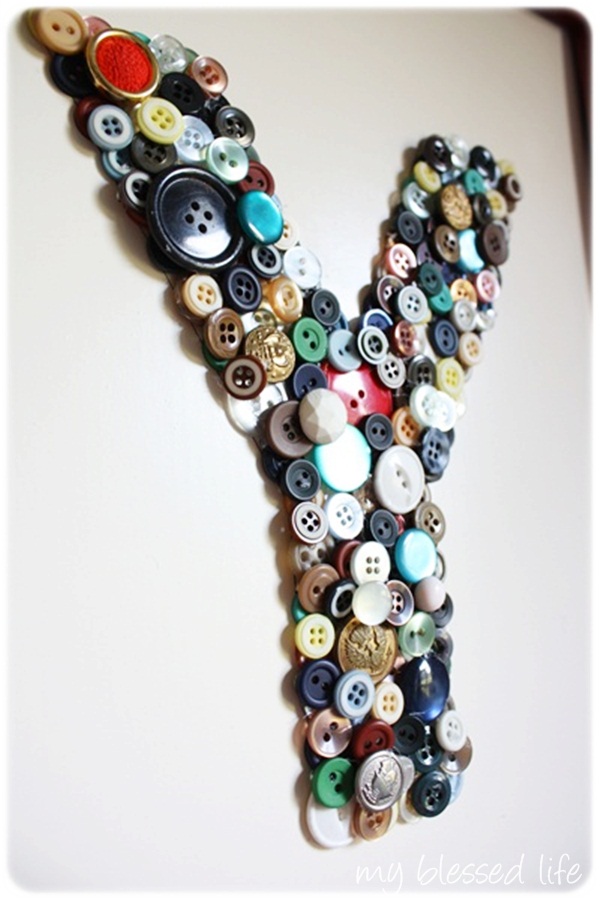
I totally love how it turned out. I think I’m going to incorporate it into my apple green desk vignette for the summer.
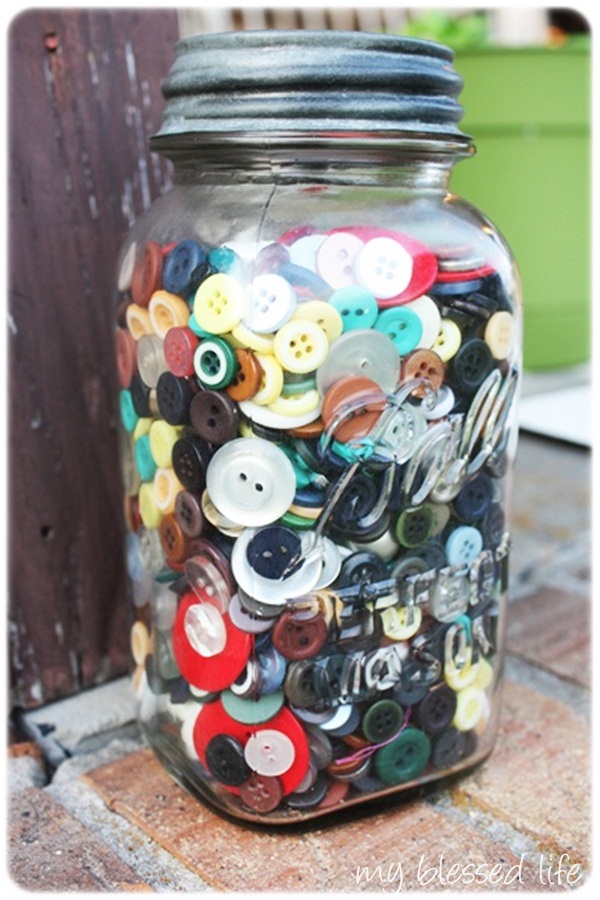
Several years ago, I bought this jar of buttons at a local antique shop for $12.00. I doubt that I would pay that much now, but for the jar, zinc lid and gobs of buttons maybe the cost was pretty fair.
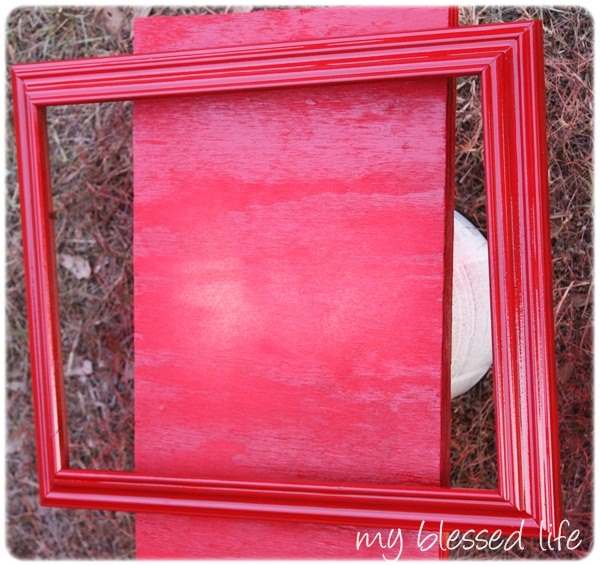
After some wonderful red spray paint, the frame looked much better.
Do y’all see how DRY the grass is? We need rain so, so badly!
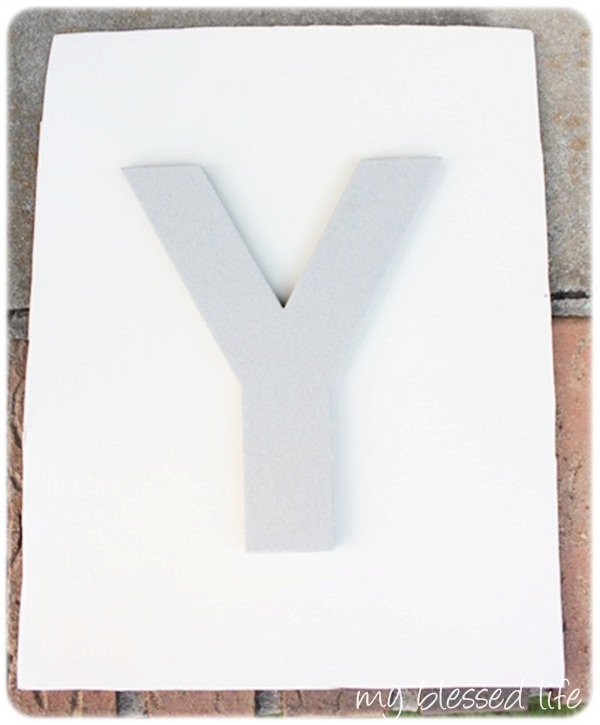
I cut up an AT&T box, spray painted the cardboard lid Heirloom White to create the monogram background. The “Y” in the above picture is from Hobby Lobby for $2 to use as a stencil. Our printer is currently out-of-order, so this method worked fabulously.
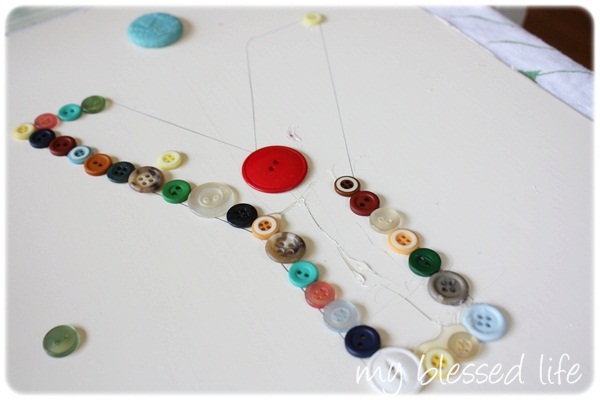
I traced around the “Y” and then began randomly gluing buttons down. I went around the outline first and then began filling in the middle.
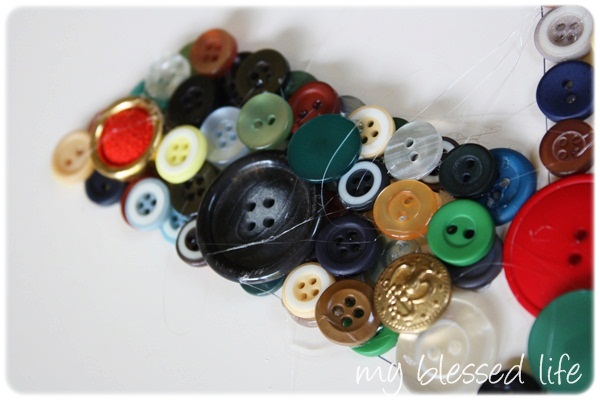
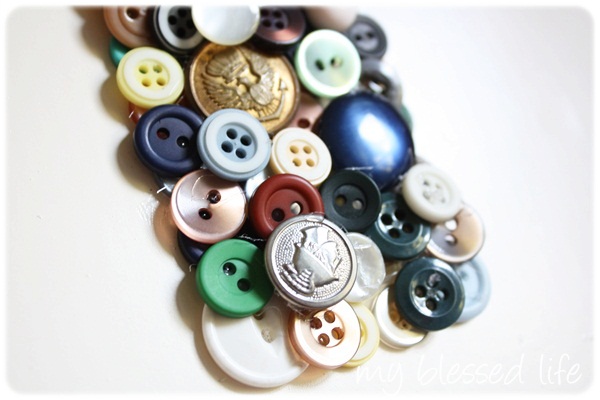
Once the bottom layer was done, I filled in the gaps and covered the pen outline. If I had been thinking more clearly, I would have covered the outline completely with buttons the first time around. Oh well, you live, you learn. 🙂
The vintage-ish mix of buttons is fabulous.
I had to pick all the hot glue webbys off and then I put the cardboard monogrammed piece into my frame.
Voila!
How cool is that?
I’m thrilled to have found a use for the jar of buttons that I’ve had for years. The monogram only used about 1/5 of the quart jar, so I need some other ideas about what to do with more buttons. I have buttons coming out my ears, y’all! 🙂
Creating this cute, framed, monogrammed piece of vintage-ish art was so much fun…and frugal too!
Do you have a button crafting idea? I’m all ears. 🙂
I’m linking up to Get Your Craft On, Tip Me Tuesday, Tips & Tutorials, I’m Lovin’ It, Chic & Crafty, How-To Dayand Weekend Wrap Up Party and Traci’s Best DIY Projects!
*****
Don’t miss out – diy projects, recipes, crafts and more, by checking out my subscribe page!

So adorable! How fun is this? I could see so many fun ways to customize, it too. Lots of cute “kids’ room” ideas rolling through my head… 🙂
JessieLeigh´s last blog post ..“My Story…” Monday- A – Advocating
Thanks girl! 🙂 I hope you are doing fabulously!
Love it! I’m collecting ideas for a gallery wall. This one is definitely being saved!
Buttons are perfect for scrapbooking and greeting cards! And, hey, I’d take any you don’t want! 🙂
Elizabeth J.´s last blog post ..Five Minute Friday- Backwards
This is such a fun idea. My sister did this a few weeks back in her daughters’ playroom, only she spelled out the word “PLAY” with the buttons in 4 different frames above the toy cubbies. It is precious! When I saw it I knew I had to copy her, but I had already forgotten! LOL Thanks for reminding me of such a fun, cute, and creative project! Yours turned out great! 🙂
What a fabulous idea Jenni! 🙂 Love it! 🙂
That is so cute and such a good idea!
That is so cute. I happen to be a button lover myself…so I will be doing this for sure! I love using buttons on handmade cards.
Katie´s last blog post ..Menu Plan Monday
Ohh, I love the idea to use buttons on cards! 🙂
Ooh, I love this! Will definitely try it out… would be super super cute as a monogram in the nursery when this baby comes too! Thanks for the idea =)
anna´s last blog post ..an intersection
Looks good! I saw this a while back done here http://americancrafts.typepad.com/studio/2011/02/element-monogram-tutorial-by-jen-jockisch.html and have it on my to-do list as well…now if I can ever get to it…
Oh poo! I thought I was original. Oh well, I guess there’s nothing new under the sun. Ha! Thanks for your comment! 🙂
It’s lovely. I’ve pinned it so I can use it to inspire me.
Smallgood´s last blog post ..Summer Freshness & the Sissy Pico de Gallo Recipe
Awww, thanks! I love pinterest! 🙂
That’s so cool! I love it. I could totally see that in my daughter’s room. (With a Z instead of a Y. lol)
Tabitha´s last blog post ..Thanks A Bunch Card
Love this idea – personal and can be easily modified – i.e.all one color family, or all one size….
Very cool….
Debie´s last blog post ..Tip Me Tuesday – Hallway Makeover
Thanks for the idea, I may have to do this for my new sister-in-law’s baby shower:) You’re website is so pretty
Thank you for your sweet comment! I think this would make a fabulous baby shower gift!!
LOVE it!!! This is my first time to your blog; it’s beautiful 🙂
It turned out so cute! Nice job!
Myra- your ‘Y’ is fabulous! This has also been on my to-do list for some time (I bought an ‘M’ from hob lob just like your ‘Y’) but now I’m definitely going to do this after seeing your step-by-step. I’m visiting from Tip Junkie- hope you’re having a great day!
Thanks Mary Kathryn for your sweet comment! 🙂 I hope you have a fantabulous day! 🙂
This is adorable…I want to make one for my wall. It kind of makes me jealous of your button jar. And now I will be searching for buttons to save up and make one. Could take a while unless I find some for sale somewhere.
I’m pinning also. And I think we got all your rain. Sorry about that. (I’d share if I could!)
Anne´s last blog post ..Pitch a Slider to Dad
Thanks for your comment Anne! Guess what? We FINALLY got some rain last night and we may get a bit more tonight. I’m so thankful! 🙂
Since I got married I’ve really been into monogrammed stuff. Thanks for another cute idea!
So darling! If you’re doing a grouping, you could use the buttons around the frame of a picture on one and maybe glued onto a hanging ribbon of another. That way they coordinate with the buttons, but still are unique. You could even string a tiny button pennant, since those are so in right now.
I think I’m going to start looking for buttons!
Claygirlsings´s last blog post ..Mouth closed ears open
Idea overload (I apologize in advance!haha) : Button balls. Use styrofoam balls of varying sizes and cover them in buttons then fill a jar with them. OR you could make a DIY tufted headboard for Ridley. OR you could revamp a children’s chair for Ridley and instead of using studs you could use buttons. OR make napkin rings. OR stack the buttons (mix up shapes,colors, and sizes) and use them as the pull for lamps or fans…….phew! Ok. I’m done now. Had to let that out! haha Your “Y” looks amazing, Myra! Can’t wait to see what else you will come up with! 🙂
Anna´s last blog post ..Would You Be My Tootsie-Wootsie
HAHA! Thanks for your inspiration! Now my head is swimming with ideas. 🙂 xo
OH!! Myra, I love this!!! I am going to make one for my sister! Her birthday is coming up!! Thanks so much for the inspiration! 🙂
Ami w/AliLilly´s last blog post ..Super Fun- Cute and Inexpensive Party Garland
Thanks Ami!!! I think this would be a fantastic birthday gift! 🙂
Here is a link to a cute button project that I recently ran across. Thanks for sharing your idea also.
http://moderncountrystyle.blogspot.com/2010/09/tutorial-piped-heart-button-cushion.html
Fun! I love old buttons and this is a great way to use them.
Very cool way to use up a lot of buttons. 🙂 Thanks for sharing!
Jennifer´s last blog post ..GIVEAWAY WEEK- FEATURING Miss in the Kitchen
Cute project! I love buttons. Maybe you could make some of these cute Double Duty Flowers.
http://eastcoastmommyblog.blogspot.com/2011/05/double-duty-felt-flower.html
Great idea Gina! Thanks! 🙂
This turned out really great. I have been wanting to give this a try.
Jo @ SmileMonsters
It is just perfect. I don’t think 12$ was out of the question!
Thank you Sarah! 🙂 You made me feel better about the moolah! 🙂
I love this, and I am partial to the letter Y! I’ll have to make one, too!
This is so cool I WILL be making one. I ADORE it!
Really cute! I love how you layered the buttons in the middle. My girls would definitely love this.
Steph´s last blog post ..UnMomming of the Jeans
This is darling! I have a “thing” for buttons lately, and have plenty to make this!
How about making these darling button bracelets? You can do charm style, like this: http://3.bp.blogspot.com/-I-k7ar_nU10/TcLoIlS9S1I/AAAAAAAAAKk/WA63RCc15m0/s1600/Pink+%2526+Purple+Button+Bracelet.jpg or a stretch type, like this: http://www.buttonjewellery.co.uk/button_jewellery_bracelets.html
You could do monochromatic, or colored themes, I see so many options!
Great idea! There’s a second hand craft shop that I frequent that always has all kinds of buttons, vintage and new. I just may have to make a button monogram now! Woohoo! Thanks for sharing the idea!
I saw this idea done recently but with broken crayon pieces. They were lined up side to side so it was a lot more linear then your button one (which I love by the way 🙂 )and was given to a teacher friend of mine as an end of year gift. And who doesn’t have tons of broken crayons?!? 🙂
What an adorable project! I absolutely love it!
Thanks,
amanda
Fabulous! i am a collector for bottoms, and classified them into white, black-brown, and multi…ah, and fancy ones! use them always in every project. for example, i made an altered serving tray into a conversation piece and used the ones that have an antique look, together with other similar items. ( something from my mind) , and have it exposed with three other oils. i am very proud of my first altered piece.
Wow! This is such a great tutorial. I have a friend who wants to use ‘buttons’ as a theme in her nursery. I can’t wait to show her what you have done.
You have a wonderful blog! I am your newest follower and would love it if you would check out my blog and follow me too!
Jenna
wilsonsandpugs.blogspot.com
Thanks!
Welcome Jenna! I’m so glad you’re here! 🙂 I will head over to your blog right now!
This is adorable!!!
Maureen´s last blog post ..Photography Tips and Tricks
This is so cool and there is so many places you could put it and it would work! I really love it. Cute idea. 🙂
Thanks Crystal!! 🙂
Found you through Tip Junkie…this button art monogram is beautiful! Impactful yet inexpensive, right up my alley. Thanks for sharing… 🙂
I just StumbledUpon this website, really creative monogram I’m going to try this out with my kids!! Thanks and keep up the good work.
How cute! My son collected buttons for a while, so we have a few, too! A couple of years ago we bought styrofoam balls at the craft store and glued buttons all around them to make Christmas ornaments. They turned out really cute. I really like this project and may have to try it myself!
Great simple decoration Myra. Very unique idea for a DIY with buttons 🙂
Its a great idea for monogram and the unuseful buttons will also came to work.
This is a fantastic idea! We are not two dimensional but multi faceted so this is just a fantastic idea! And I love cooking and photography
Roosevelt Donofrio´s last blog post ..Best Printer for Stickers In 2020 (Compared & Reviewed)