How To Make Embellishments
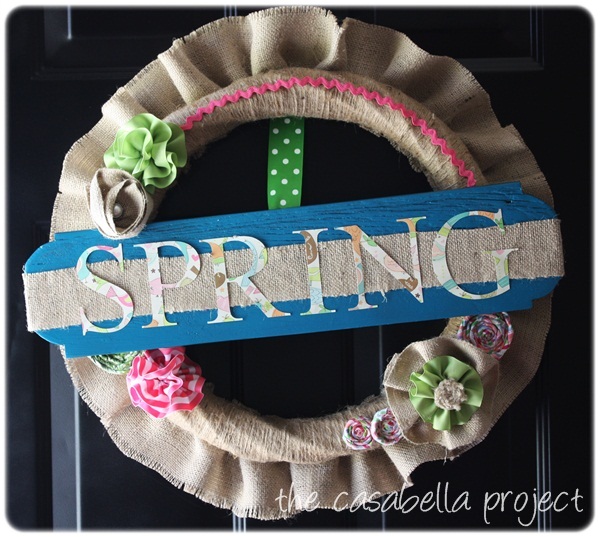
I’ve been asked by several of you how I made the embellishments for my Burlap Wreath With Interchangeable Embellishments. They are so easy, and I’m going to do my best to show you how today!
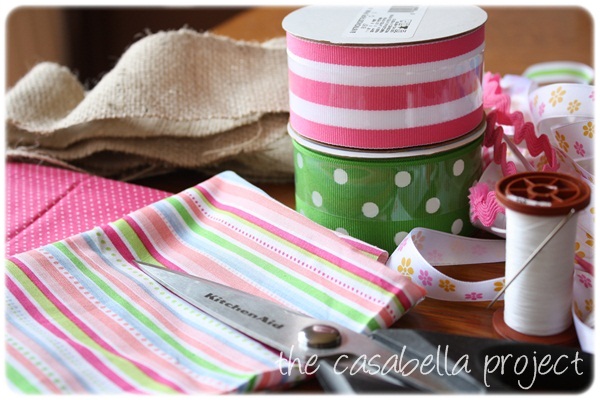
Gather Supplies:
- Fabric, Ribbon, Burlap
- Velcro
- Needle & Upholstery Thread
- Scissors & Hot Glue Gun

Burlap & Ribbon Combo
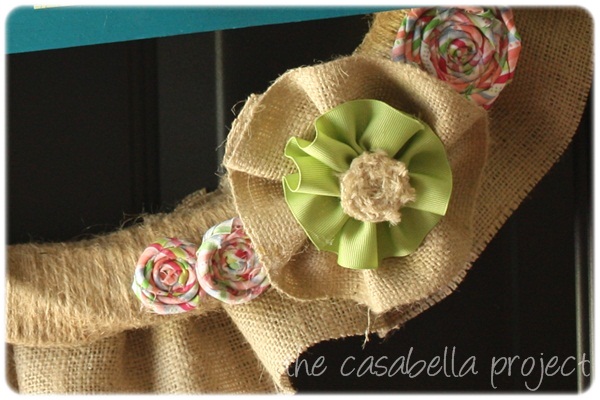
1. Front: This embellishment has a large burlap base with a ribbon layer and then a twisted burlap layer.
1. Back: You can see how I gathered the burlap in a circle, secured it with my needle and thread and then added velcro.
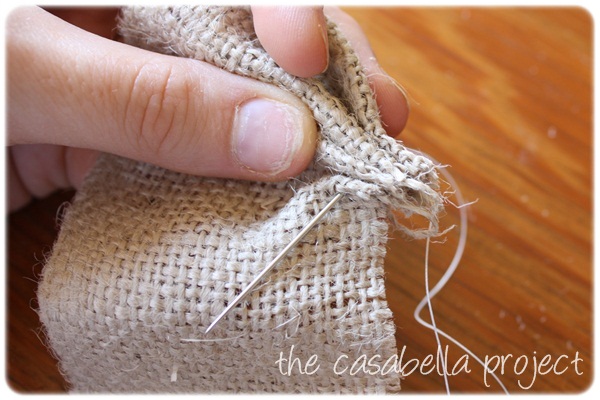
Cut a strip of burlap…probably at least a yard long – you can always shorten it. Prepare your needle and thread. Begin taking large stitches on one side of the burlap strip. I like to secure my thread {at the knot} with a dab of hot glue. Gather the burlap with your needle and thread until you can form a circle that is open and flat. Finish and secure with thread.
Do the same thing to a strip of ribbon, then hot glue it on top of your gathered burlap circle.
For the twisted burlap center, I cut a very narrow strip of burlap, twisted it and hot glued it as I formed it into a circle. Then glue it on top of the ribbon and add velcro to the back of your pretty new embellishment.
Flat, Layered Embellishment
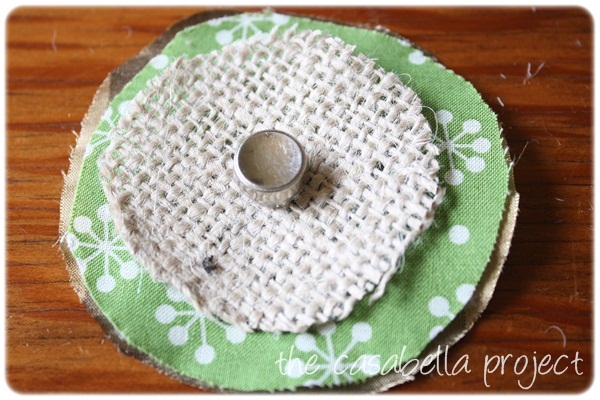
This one is very self-explanatory. Cut circles out of whatever fabric/burlap you want. Layer them with a little hot glue between them. Add a button on top, then velcro on the back. Voila! You’re done!
Burlap Tulip Embellishment
1. Front: This style is basically made like the burlap and ribbon combo embellishment above, except that you gather the burlap tightly and “cupped” instead of allowing it to be flat. Once it’s secured, add a cute button to the center!
2. Back: Attach some velcro and that’s that! Easy peasy!
Ruffled Embellishment
This is one of my very favorite styles! It just makes me happy!
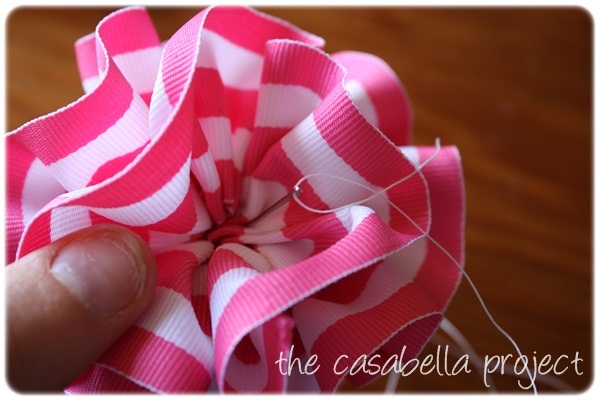
1. Secure knotted thread with a dab of hot glue
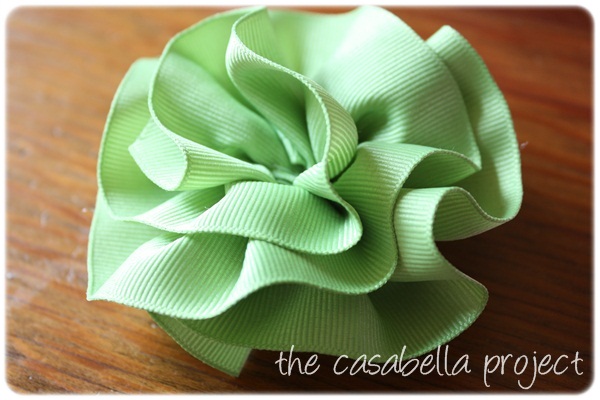
2. Gather ribbon {to the fullness you want}
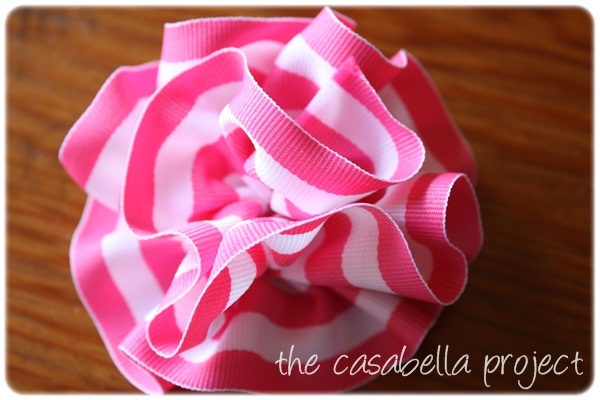
3. Ooooooo, ruffles! 🙂
Form the gathered ribbon into a layered, ruffled circle. Then secure it in the center with needle and thread. I just went up and down several times in the center.
Beautimous!!
Twisted Fabric Flower Embellishment
My sweet friend Jen wrote a fabulous Fabric Flower Tutorial that explains this {plus hers look much prettier than mine}, so check hers out!
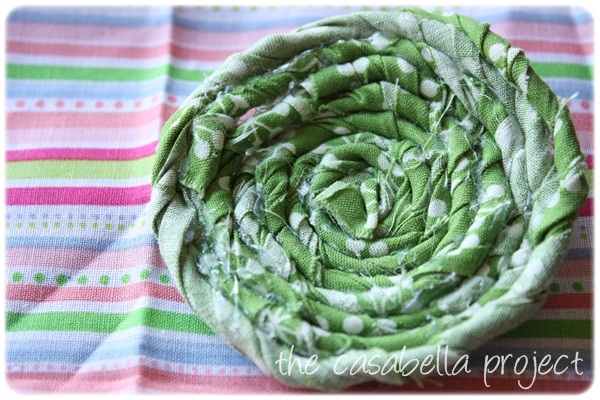
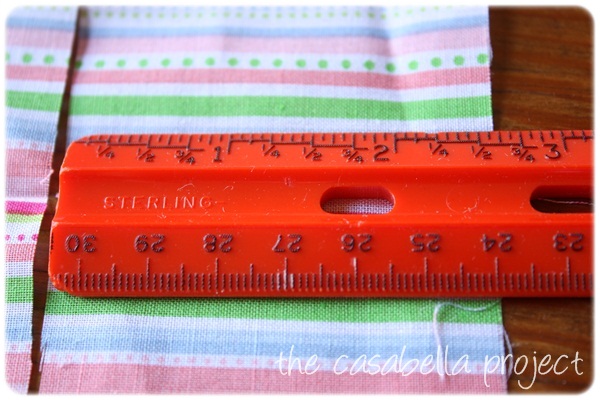
I cut fabric strips about 2 1/2″ wide. Then I started by twisting and wrapping the fabric in a circle. I used hot glue to secure each “layer” as I twisted and wrapped the fabric. I hope that makes sense! 🙂
I love the different textures all together!
I hope you understood this complicated tutorial post. If you have any questions, please leave them in the comments and I will do my best to help you!
Have a marvelous weekend!




Thanks for the tutorial! I think I can do this – you make it look easy!
Becki – you can SO do it! 🙂
That is beautiful! My 8 yr old daughter wanted to leave the Christmas wreath on the door after the holidays, so it stayed up until almost February, I think. *lol* She will so like knowing that wreaths “aren’t just for Christmas anymore”. :O)
I totally needed this. Thanks!