Spring Inspired Blocks {Tutorial}
Happy 2nd day of Spring! I’m just so thrilled about warmer weather, more playing outside and Spring crafts {happy squeals} and decorating…of course!
This project has been on my “to-do” list for months, literally. I was originally inspired by a set of “harvest” blocks at Hobby Lobby, but I wasn’t about to pay the price. Five months later, I finally got around to making seasonally inspired blocks!
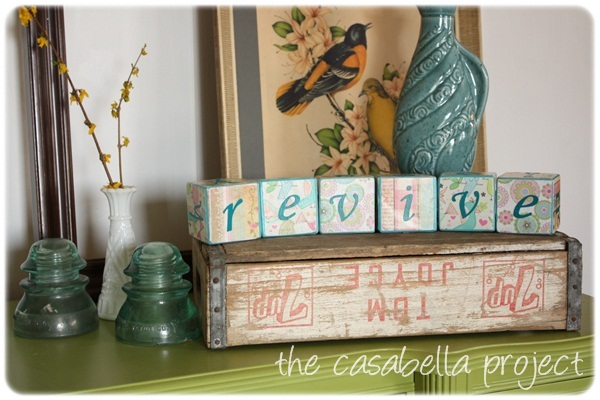
{revive – love}
This past Thursday I asked for some Springtime adjectives over on my other blog’s Facebook page. Wow! Over 30 comments with so many amazing ideas. I have yet another project up my sleeve with all those words, but for now, I used six of them to create my Spring Inspired Blocks!
Supplies You’ll Need:
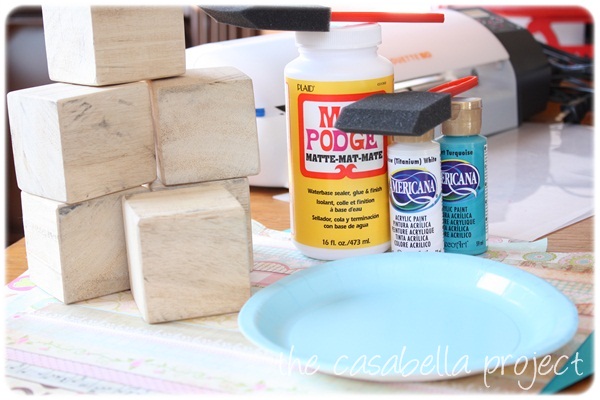
- Wood Blocks {mine are about 2 1/2″ cubes that my brother-in-law found on the scrap cart at Lowe’s, but you can order wood blocks too}
- Mod Podge Matte Finish
- Acrylic Paint {I used turquoise and white to lighten}
- A plate for the paint
- 2 Sponge brushes
- Scrapbook Paper and Cardstock
- Scissors
- Ruler and Pen
- Silhouette SD Machine or Stencil
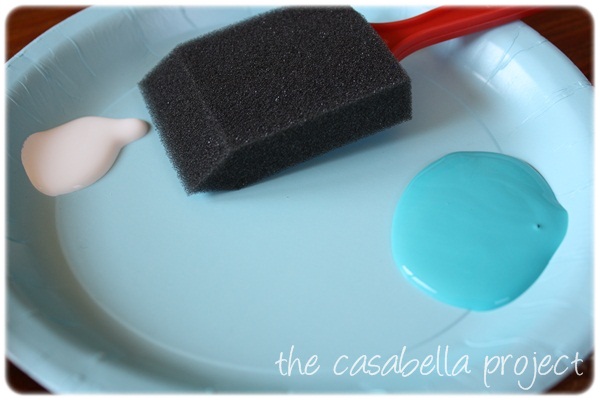
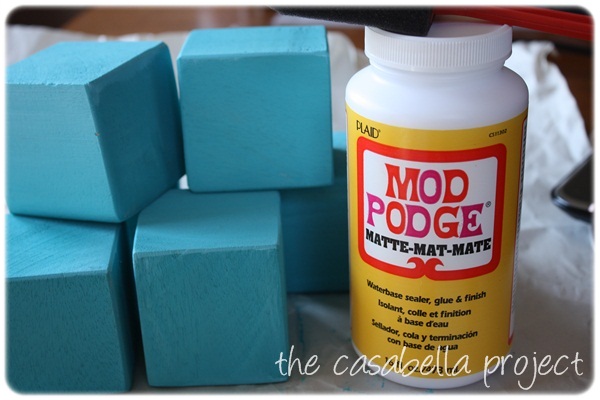
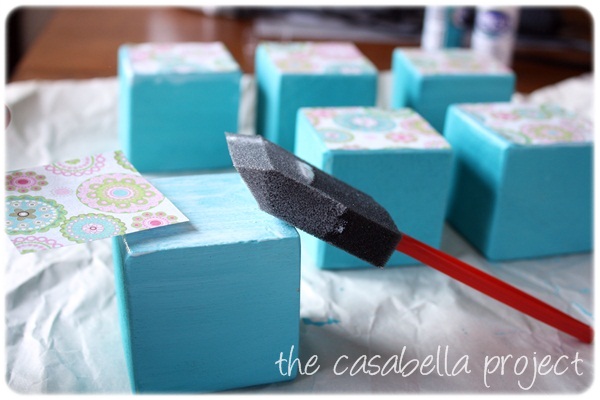
Squirt out some paint on the plate then carefully paint the wood blocks. Allow the blocks to dry.
ModPodge is a beautiful thing. ‘nough said.
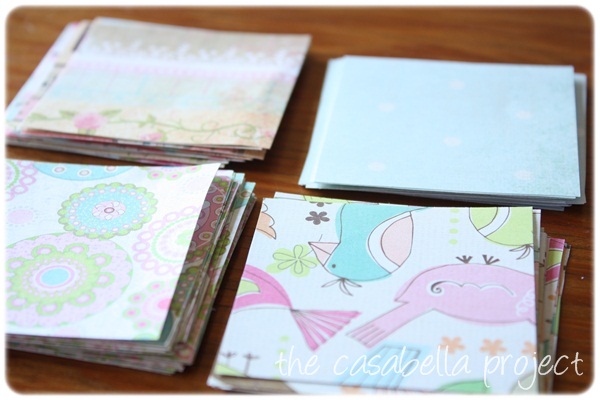
I cut out scrapbook paper squares that approximately fit the sides of the blocks. I ended up not using the pale blue paper…now I need to come up with a project to use up all those squares!
If you’ve never ModPodged before this is very, very important…Use your foam brush to put a light coat on the block before the paper. Place and press the scrapbook paper square and leave it alone for 15-20 minutes. If you choose to not leave it alone for 15-20 minutes, the bubble monster will come and ruin your Modpodge project!
After the modpodge is dry, brush more modpodge over the top of the paper.
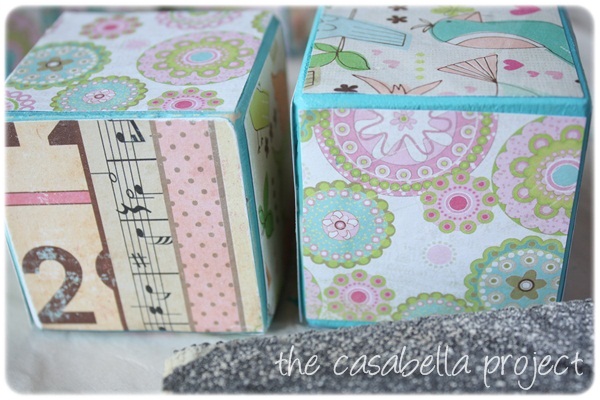
Let the blocks dry for a little while…until the modpodge is dry, then sand the edges of the blocks with a sanding pad or sand paper. The block on the left has been sanded. The other one hasn’t. See how much better it looks when the edges are sanded? I love how it gives them a vintage-ish vibe.

I used my Silhouette SD machine to cut letters/words out of cardstock.
revive – awaken – tulips – flower – lovely – growth
You could also easily use a stencil for this step. I “glued on” the letters with modpodge…then I gave the blocks a final coat.
I truly couldn’t be happier with the result and the fact that I spent less than $10 to make the blocks is just fabulous! 🙂
Have you ever ModPodged anything? I’d love hear about it!
******
 Put Your House in Order
I’m participating in a series, called “Put Your House in Order,” with a great group of bloggers. Each of us is tackling a different area of home management and sharing suggestions for organizing in the new year.
Check out how the others are ordering their homes this Spring:
Spring Cleaning Your Finances {Part 2} at Kingdom First Mom
Organizing With A Label Maker at Smockity Frocks
Trail Mix with Fruit Seeds & Chocolate at Good Cheap Eats
Spring Cleaning Your Facebook Account at Women Living Well
Linked to: Made By You Mondays, House Of Hepworths, Tips & Tutorials Tuesday, Chic and Crafty and I’m Lovin It!


 Put Your House in Order
I love it..the blocks are so cute and springy looking..
Wow! These are beautiful! I love them!!! You make amazingly gorgeous things girl! Love it! 🙂
Courtney
Those are gorgeous! I love fresh spring colors.
I have Mod Podged before… I did a whole desk over with scrapbook paper. 🙂
These are so cute! Now I have to go get some blocks 🙂
I love Modge Podge! I use it all the time. See my projects here: http://amycornwell.blogspot.com/search/label/decoupage
thank you for such a great idea! I love Mod Podge!
Myra!!!!! I just *LOVE* how the blocks turned out!! =) Can’t wait to see them in person!!
~Hannah
I think this is a great project and really wished you had an email post button somewhere on your blog so I could send it to my self for later, or to friends that might like to do this.
Thanks for your comment Jennifer! I’ve been meaning to install an email button. There should be one there now below the post! 🙂 Thanks for sharing!! 🙂
I like the one you chose too. Now I can tweet and share on FB. 🙂
Adorable – I couldn’t help but think how these would make a cute and PERSONALIZED gift for a child…
I read several posts on modpodge and was like “I can do this” No problem, well none of those post told you to wait inbetween coats or the bubble monster will come after your project.
I was depressed. What I thought was going to be beautiful paper covered drawers turned into a HOT mess! I think I actually cried. I have yet to fix it.
OH and another thing. DO NOT USE THIN WRAPPING PAPER that you found at target and thought it was soooo pretty.
They look so lovely!!! I have to say I was tickled to see the word I suggested on your FB page in the picture! If I can’t be that crafty myself, at least I can supply a word to someone who is 🙂
I have used Modge Podge to make a Thanksgiving turkey glowbird – my son and I did it a couple of years ago. Here’s the link. You might enjoy this with your little one!
http://familyfun.go.com/crafts/glowbird-674658/
Thank you Sandi for inspiring me! 🙂
I made similar blocks for Valentine’s Day!! Mod Podge is AH-mazing!!
Very springy! Nice! I have “mod-podged” before…did hatboxes used for storage. Loved how they turned out. 🙂
I love these! Such a great idea! Thanks for sharing!
I love these spring-y colored blocks (and Mod Podge!). I can think of about eleventy billion different ways I could decorate with them.
I love your blocks. So pretty! I’ve Mod Podged several things. My last project was book page easter eggs. You can find them on my blog.
Love these! I love mod podge too! I would love for you to link this to my Sew Crafty Party! And while your there check out all the Spring Fling Giveaways including my Bustle Back Spring Dress! Hope to see you there!
http://wildflowersandwhimsy.blogspot.com/2011/03/sew-crafty-saturday.html
Ohhh my goodness, these are so cute! I want to make some for my baby 🙂 Mod Podge is the bees knees.
Ohhh, blocks for your baby would be just lovely!! 🙂
Super Cute! Found you at Skip to my Lou…i would love it if you stopped by my blog!
sorry didn’t leave my blog name!
I love these blocks! I am making them with seasonal colors and the words: spring, summer, autumn, and winter. All I have to do is turn them over for each season. Thanks for great tutorial!
Fabulous idea Becki! 🙂
LOVE. THIS.
My sweetie cut blocks for me a few years ago and I made Trick or Treat blocks for Halloween. They look so cute on a table under a fun quilted wall hanging I had made. I love these spring blocks and may just have to work something up for 4th of July as well. Thank you for your inspiration.