DIY Herringbone Tile Backsplash
Hey y’all! I am so excited to have Mr. MyBlessedLife.net here today to show you a project that we’ve just recently finished. Take it away, babe! 🙂
I’m very thankful for the opportunity to be here today. We just completed a painted DIY Herringbone Tile Kitchen Backsplash. It turned out better than we could have imagined!
[pinit count=”horizontal”]
We are THRILLED with the after! 🙂
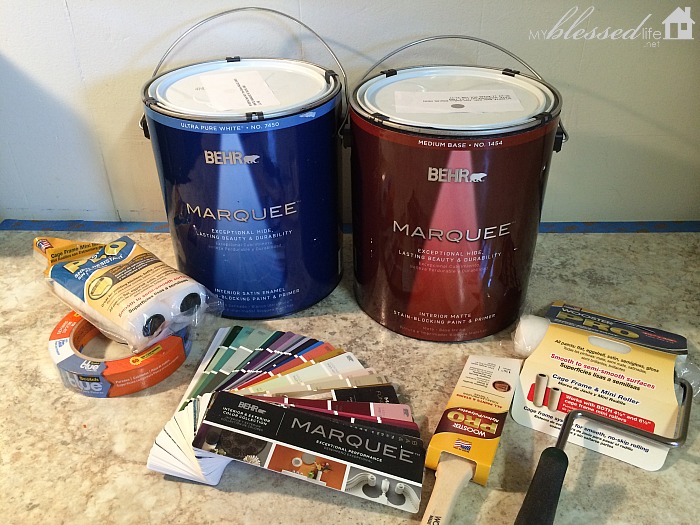
Some of you probably remember that we’ve been working on the kitchen since last year at this time. We’ve slowly been chipping away at our to-do list for the kitchen. It was so exciting to pick up our supplies at The Home Depot like Behr® Marquee™ paint line, ScotchBlue™ Painter’s Tape and a Wooster® Pro paint brush and roller.
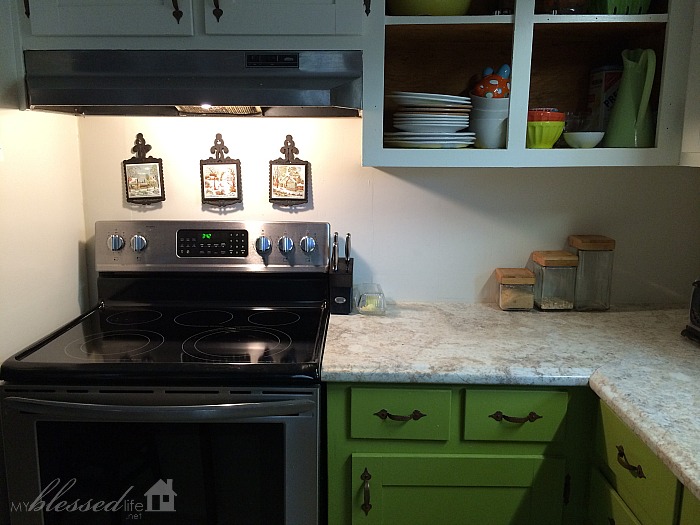
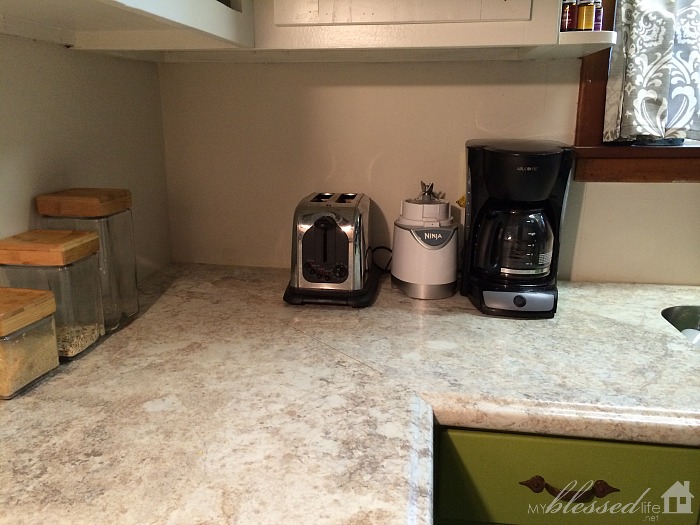
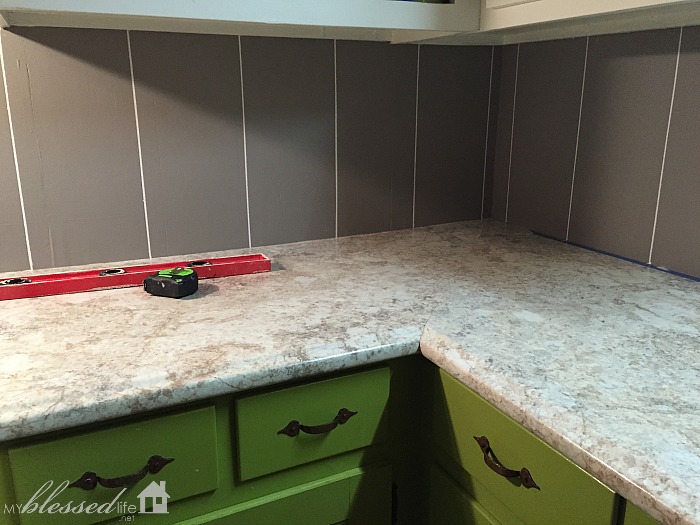
Here is a “before” although it is somewhat after because we removed a bunch of wallpaper and we made over the kitchen cabinet doors last year. The existing backsplash has just been a bit drab and-with it being painted paneling-a bit more challenging. We aren’t ready to commit to tile because we aren’t 100% sure what we want to do long term with this space.
So a painted faux tile was the perfect option for us.
Here are the supplies we used…
- Behr® Marquee™ Iron Gate #MQ2-60 {Flat} – Grey
- Behr® Marquee™ Cameo White #MQ3-32 {Satin} – White
- Wooster® Pro Woven Cage Frame Roller
- Wooster® Pro High Density Woven Cage Frame Roller (2-Pack)
- Wooster® Pro 1.5” Nylon/Polyester Thin Angle Sash Brush
- ScotchBlue™ Painter’s Tape Delicate Surfaces with Advanced Edge-Lock™ Paint Line Protector 2080EL
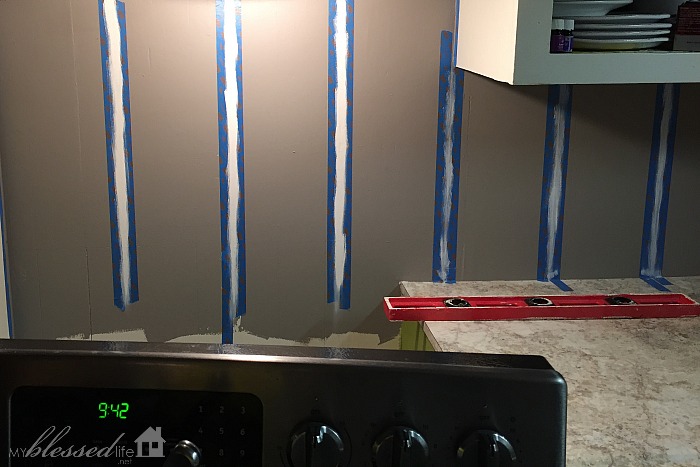
We wanted to create a grey herringbone diagonal tile look with white grout lines, so after painting the entire back splash in Iron Gate grey and allowing it to dry for at least 24 hours I began taping off all of the vertical lines.
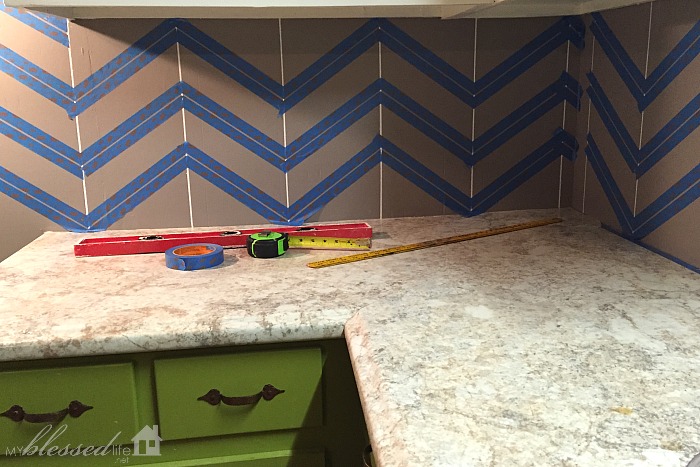
I had to measure, divide into equal vertical rectangles, tape, and paint the vertical grout lines. This took some time! It’s not hard at all. Just time consuming to make sure that everything is correct before painting.
The setup is DEFINITELY the most time consuming part of this project, but be patient because the final result is worth it!
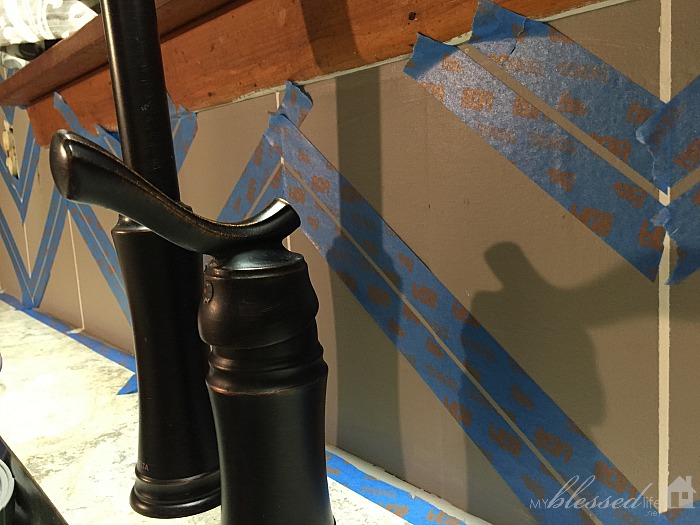
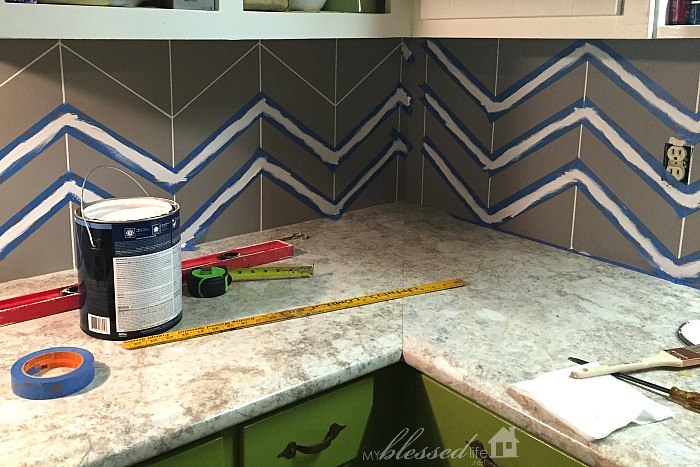
Be sure that the edges of the tape are securely pressed down and then use a dry brush {dip in the paint and then brush off excess} to seal in the ScotchBlue™ Painter’s Tape before painting a second coat of the white on. Remove the painters tape carefully while the paint is still wet.
After Myra and I decided on the angle and height of our tiles and width of our grout lines, I then lightly marked where each diagonal tile line would intersect the vertical lines, taped, and painted my diagonal lines. Again, patience is the key here!
Remember to press the tape edges down securely and do the dry brush technique to help keep the paint from seeping through the tape. Crisp lines are the goal! 🙂
I pulled the tape shortly after painting the diagonal lines and bam! You get nervous as you pull this tape off. A dreaded sense of finality kinda kicks in. Ha! Trust your patient preparation and setup!
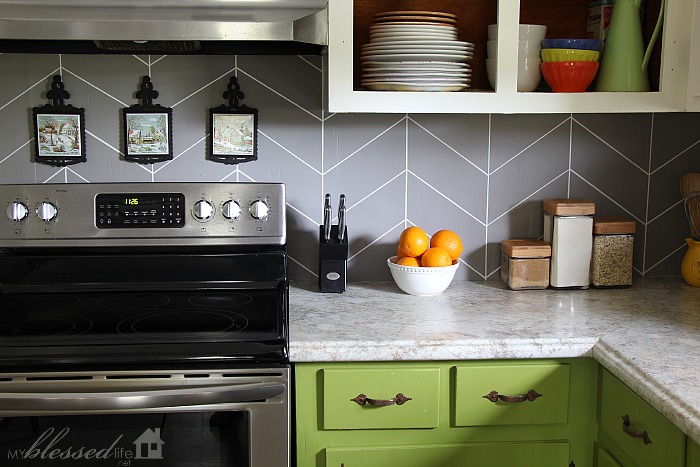
Seriously. That is a backsplash improvement!! I knew I was on the right track when a relative recently came over and, while looking at the finished product, said “That looks really good! What is that?” thinking it was some kind of actual tile! Yes!
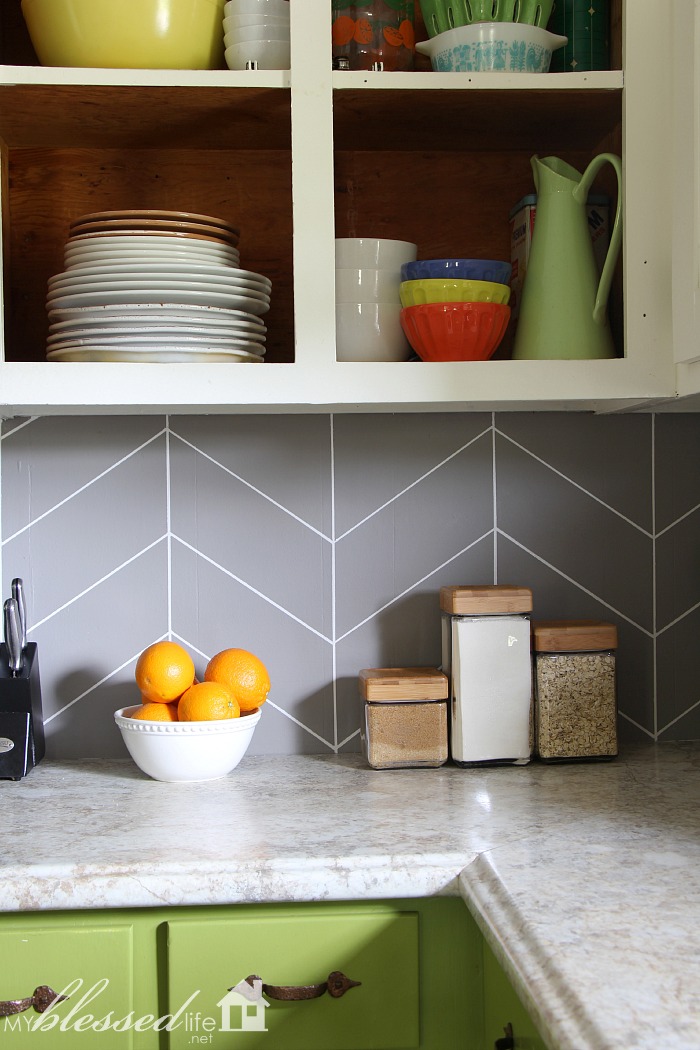
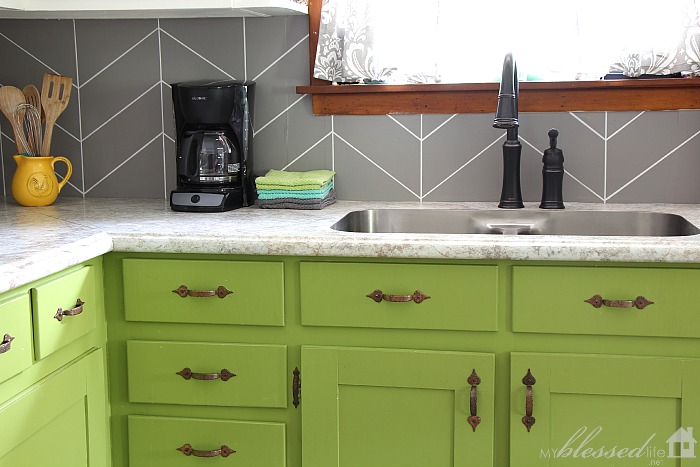
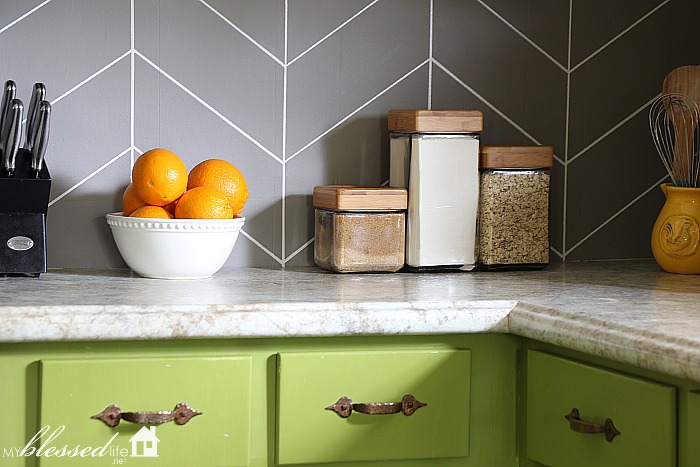
Here are a few more “after” photos for your viewing pleasure…
Pretty!!
This space has been so elevated with the geometric backsplash. It’s so much more interesting and dynamic than before.
Myra really likes to add pops of color in our home. It definitely doesn’t get boring. 🙂
We are so happy with how the kitchen is coming together slowly but surely.
And here is another peek at the DIY Painted Herringbone Tile Backsplash makeover.
Have you been working on a creative paint project lately? What is your favorite way to use painter’s tape?
We would love to hear your thoughts in the comments below! Also, make sure to sign up for The Home Depot Consumer program.
Have a great day!
Mr. MyBlessedLife.net {and Myra too!}
We are proud to be 3M, Behr®, and Wooster® – sponsored bloggers, and, as part of our responsibilities, we get the opportunity to evaluate products. Opinions are our own and additional product used in the project were selected by us.
ScotchBlue™ Painter’s Tape | Facebook | Twitter | Pinterest
The Home Depot | Facebook | Twitter | Pinterest




Love it y’all!! And yes it really does look like real tile. Score!
Emily@Decorchick!´s last blog post ..The Musical Living Room (The Final Arrangement!)
This is fabulous! Wonderful, wonderful job! Would have never thought to mix apple green & gray! You’re so talented (and so is your hubby!)
super gorgeous!
So pretty, I really love how it looks with your green cabinets.
Stephanie´s last blog post ..Awesome Etsy Finds // Random
Beautiful! I love it and those green cabinets 🙂
Debbie
Debbie´s last blog post ..Inspiration Monday – Recipes and Fun Projects
i really like it!!
Crystal @MyBlissfulSpace´s last blog post ..Day 25: 31 Days to a Blissful Fall {Play}
I love it!! You did an amazing job!! Love it!!
Seriously thought it was tile until I read it!! I love it!! And LOVE your colors … my kitchen is Opposite … green walls (that green) and grey cabinets (that grey) hehe … no wonder I love your blog!!
Tammy´s last blog post ..Servant Wife
Looks awesome and real! love it!
Jennifer´s last blog post ..When life gives you lemons…
OMG, your kitchen is so perfect, I love the bright green and grey. I am very jealous!
looks amazing!!!
I told my husband, “Hey, come look at this tile job Myra and her husband did in their kitchen!.” Then I read the full post. Ha! Great paint job! Not sure if I have that kind of patience.
Love it!! Well done Mr. Myblessedlife. I have to say a lot of men do not possess the patient attribute.. well I guess some women as well…… I would have got half way through that and been like..ah forget it. But it was well worth it! What made you guys decide against tile however?
Andrea´s last blog post ..The Top Tips To Home Improvement And Where You Should Begin
THIS IS AWESOME! I have been thinking of doing something similar in my kitchen because we too arent quite ready to commit to tile backsplash since we dont know what we want + cost. GREAT idea, this is for sure giving me the itch to paint now!
That is really lovely!
I have a question about your sink/countertop situation. What is it? It looks somehow like it is all one piece instead of undermounted. I LIKE IT!
Please tell me what’s going on there!
Question! Would you mind sharing the measurements you used? what distance between the vertical lines, angles, etc? I want to get an idea of where to start…=)
I LOVE how you’ve updated this kitchen! Absolutely adorable and so sharp. Next on my list is to follow your lead and update my blank 1950’s cupboard doors. We’ve been working on the kitchen over the last few years and it’s come A LONG way. As for the painters tape and my favorite use… this winter we painted our kitchen and breakfast nook floor with white epoxy and black industrial enamel. You can see it here:
https://www.pinterest.com/pin/476959416765726613/
Paint and tape can pretty much change anything. Thanks for sharing your awesome work!
Would it work on butcher block back splash?
Lovely! What are your countertops, I’m looking for something like that?
Gray is so trendy nowadays, so it’s definitely a good choice for the backsplash. I really liked it even though the straight lines and arranging them perfectly would drive me mad 🙂 Anyway, great project, thanks for sharing.
Ivo´s last blog post ..20 Amazing Rustic Wooden Box Centerpieces You Will Fall In Love With
Hi, do you have measurements and angles for how you planned this?
Looks amazing and I want it! (But it’s chevron, not herringbone.)
Thank you for sharing. It give me ideas what design and tiles that I will use in my kitchen.