Burlap & Lace Autumn Bunting
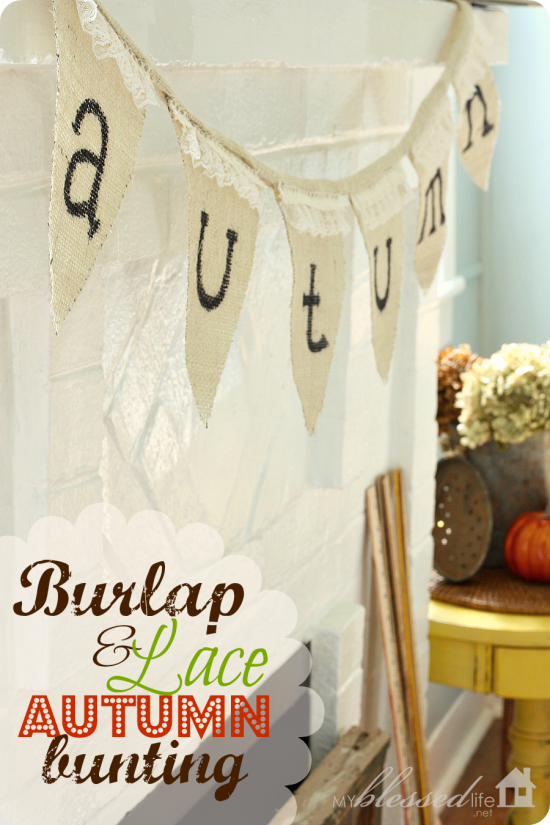
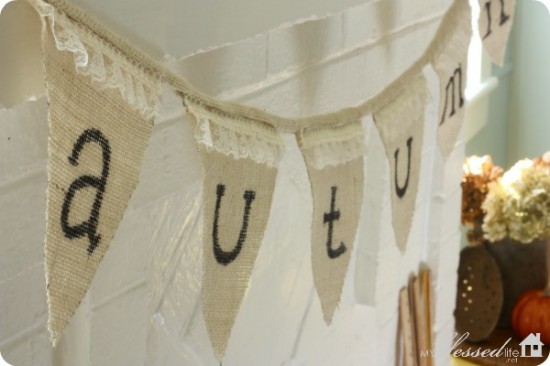
Good morning, wonderful friends! I’m excited to share my Burlap & Lace Autumn Bunting today! It is part of my Fall Mantel that I’m working on. I love this beautiful time of year as well as the rustic vibe of burlap with a little bit of elegant lace.
Cute, right? Well, even better is the fact that this bunting is no-sew! Booyah!
Burlap & Lace Autumn Bunting
Supplies Needed:
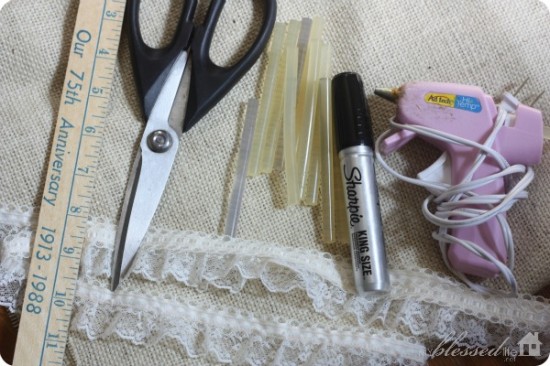
- 1/2 yard burlap
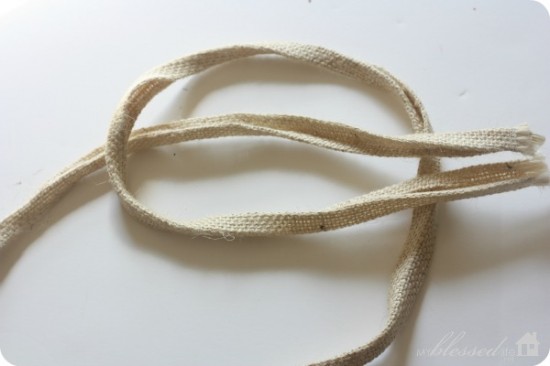
- 1 1/8 yard lace
- Ruler
- Scissors
- Hot glue gun & glue sticks
- Sharpie marker
- Letter stencil or craft cutter {if desired}
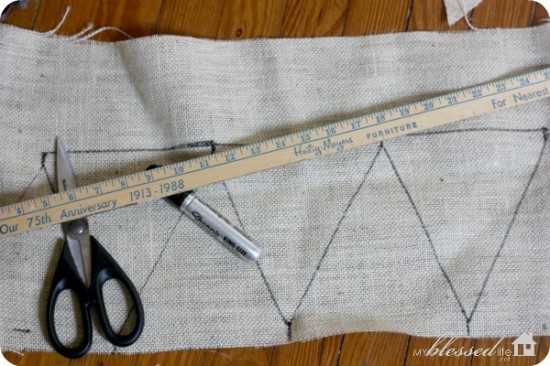
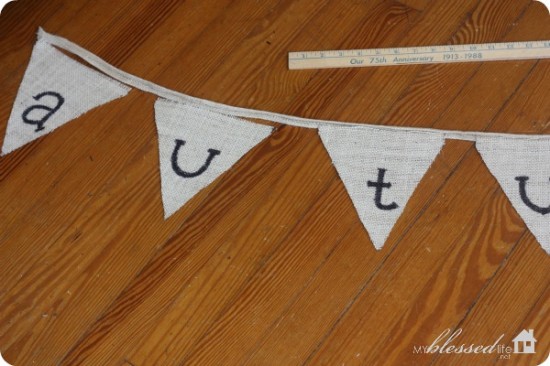
Draw six “flags” {hehe…six…flags} onto the burlap using the ruler and sharpie. I was going to make my flags 6 1/2″ wide by 6 1/2″ tall, but I decided to cut an extra 1/2″ tab at the top of each flag. So the flags are 6 1/2″ wide at the top and 7″ long.
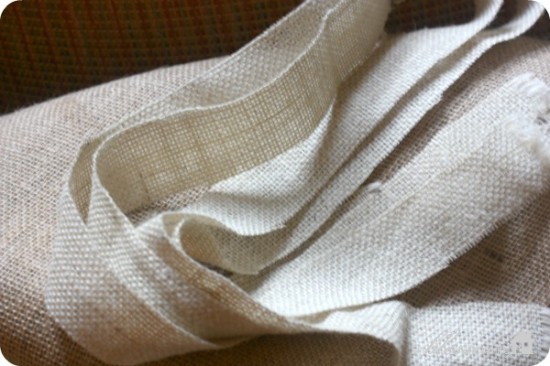
Cut a 2″ strip of burlap the width of the burlap. I was working with 45″ burlap, so my strip was 2″ by 45.” You can make the strip longer or wider if you want.
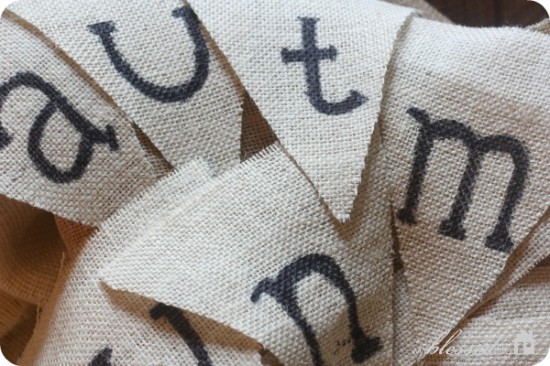
I decided to use the word “autumn” for my bunting and instead of using a stencil, I just free-handed the letters. Easy peasy.
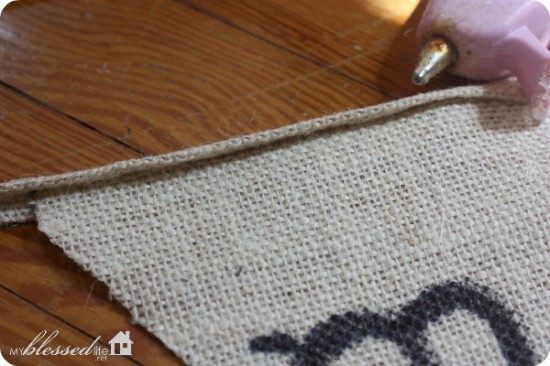
Back to the strip of burlap. This step isn’t hard, but it does require a little patience. Fold the strip in half all the way down, use and iron to crease the burlap well. Then go back and fold each rough edge under {again, using the iron}, so you have nice, crisp edges.
Next, measure out how far apart you want your flags. I set mine 1 1/2″ apart. The tab that I added at the top of each flag goes in between the folded strip of burlap.
Now, all you have to do is get in some hot gluing action! Glue each flag in place and press the burlap strip together. When each flag is attached, measure and cut lace and hot glue it on each flag.
That’s all there is to it! I love how easy this bunting banner was to put together. It’s the perfect finishing touch to my Fall mantel that I can’t wait to show you! 🙂
Have you pulled out your Fall decor yet? Are you excited about Fall?
Sharing at: Tip Me Tuesday, Tips & Tutorials, Chic & Crafty, I’m Lovin’ It, Weekend Wrap Up Party and Thrifty Decor Chick!
XO
*****




Very Cute! That gives me an idea for my mantle.
Seriously Sassy Mama´s last blog post ..Hi
Love the combo of the burlap and lace and the fact that it’s simple to make. Can’t believe fall is here (well, pretty much!).
Shauna@Satori Design for Living´s last blog post ..Satori’s Blogiversary + Giveaway Event {Day One}
Super cute! I can’t believe you did those letters free-hand. They’re perfect.
Vivienne @ The V Spot´s last blog post ..Want a free Nexus 7 tablet? Here’s a chance to get one.
So pretty, Myra! I’m ready for Fall weather here in Virginia. 🙂
Amanda @ Serenity Now´s last blog post .."You Are Beautiful" Stenciled Message Mirror (with Martha Stewart Crafts Glass Paint)
Seriously cute.
dayle´s last blog post ..Ernest’s High School Sweater ~ A Favorite Thing
You free-handed those letters? Gah! You’re amazing! You and Lisa are so talented!
Becky B.
http://www.organizingmadefun.com
Organizing Made Fun
Becky@OrganizingMadeFun´s last blog post ..OMF to the Rescue: Help for a troubled pantry
How pretty. I really love it! I pulled out all the decorations this weekend, but I’m still working on little projects: a wreath and a flower arrangement for the porch.
Tabitha´s last blog post ..Weekend Recap and This Weeks Menu
This is so cute! I love burlap and lace together!! And you lettering looks awesome…Hurry Fall!
Janis@All Things Beautiful´s last blog post ..DIY Fall Porch {Pumpkin Topiary}
Just darling!! I can’t wait to try and make one 🙂
-Fotini
GlamorousMommy´s last blog post ..Photo Book
Amazing! Definitely going to use it in my classroom for Fall decorations!
I love this easiness of this totally cute banner! Love it and it is so versatile, you could put just about anything as far as wording goes. It’s just my style too {shabby chic}. Thank you for sharing with us, you are so inspiring.
By His Grace,
Adrienne
I’m in love with burlap. This turned out great, Myra…beautiful!
Brenda @ a farmgirl’s dabbles´s last blog post ..Apple Peanut Butter Cookies
I love your banner! It’s sweet and pretty but still rustic. So fallish!
Jenny´s last blog post ..Features and Link Party
Thank you Jenny! 🙂
Such a rustic, yet elegant addition for fall! Beautiful!
Chrissy @ Everyday with the Jays
Chrissy´s last blog post ..[make] Felt Flower Pillow
Thank you Chrissy! 🙂
That is adorable! I might just make one for my mantle.
Yes! You totally should! 🙂 Thanks for your comment!
I am always a fan when there is no sewing involved and I love that you just wrote the letters!
Thanks Laura! No-sew rocks!
A fresh twist on fall with that lace. Love it.
<3 Christina at I Gotta Create!
Wildly Original linky party is open.
Thanks Christina! 🙂
Great Idea. Great set up. Rustic and elegant all in one. Love it.
Love the lace!
Would love for you to link this project up at my new blog and party, dedicated 100% to bunting!
http://bestbuntingontheblock.blogspot.com/2012/12/link-up-your-bunting.html
Aloha, Rebecca